About types of needlework techniques usingpaper can be spoken endlessly, because the imagination of man is unlimited. What are we not doing with this grateful material - and cut, and glue, and mnem, and burn, and tear, and fold, and twist and soak. And all this in order to turn a flat paper sheet into a miraculous miracle, which can be pleased with the eye and applied to the case. Well, if not, then it's fun - for sure! Ending is one of the types of paper needlework. This technique can be attributed to the method of application, and to the form of quilling (paper conversions). With the help of the face, you can create amazing voluminous paintings, mosaics, panels, decorative elements of the interior, postcards. In this way it is possible to decorate almost any objects, for example, photo frames. Still little-known, this technique very quickly acquires new fans and is gaining popularity in the world of needlework. Such a rapid growth of its popularity can be explained, firstly, by the unusual effect of "fluffiness", which gives a face-off, and secondly, by a very easy way of execution. What is it, the technique of paper cutting? Let's get to know her better.
The principle of facing
The basis of this technique is the creation of images andobjects with the help of three-dimensional elements made of paper. The volume element of the end face is called the "facing" or "sticking". It is a piece of soft paper compressed into a funnel or cone. It is from these elements that a conceived product is created. Each such "face" as one brush stroke in creating a picture, like one eyelet in knitting or one bead in beading. Facing - the work is not difficult, but painstaking. It requires not only assiduity, but also accuracy, attention and a certain dexterity.
Tools
To perform crafts in this technique you needa minimal set of materials and tools: paper, glue, scissors and, so-called, "miter" tool. Paper is not suitable for all. Usually, this technique uses corrugated paper or in a different way a crepe. Such a paper is sold in almost all stores of goods for creativity and in cultural goods. In addition to corrugated paper, conventional paper napkins are also suitable for facing. Corrugated paper is made directly "face" - elements of bulk application. Scissors and glue will be needed for cutting and gluing these butt-ends to the base of the craft. A variety of materials are used as a basis. Strictly speaking, it is possible to "coat" with corrugated paper any surface to which this paper is glued. Therefore for panels, paintings and mosaics, a flat base is used - a sheet of paper, cardboard, light ceiling tiles. For volumetric crafts are made blanks of foam, newspapers, papier-mache, plasticine. Well and the main tool of an end-cutting is a long thin stick with an obtuse end. For the role of such a tool, a pencil, a stencil or a body from a ballpoint pen, a Chinese chopstick and any other suitable stick may well come up. 
Technique as such
As with all these tools and materialswork? After you have decided on the type of the product, you need to prepare the paper for the "trimmings". It should be cut from corrugated paper squares. Size - from one to three centimeters, the amount - depending on the area or volume of the product. The workpiece, which will be attached to the "face", can be glued in advance. But you can also apply glue to every single element - that's how you like it. How to make one such "fuzzy"? The technology of making "trimmings" requires accuracy. So, in your right hand you have a stick for cutting, in the left - a square of paper. Attach a paper leaf center to the end of the stick, and, holding it, gently crush the paper, wrapping it with a stick. When compressing paper, do not press too hard to break it. As a result, you will get a small fluffy cone. Fuzzy sides will give him the folds of the square formed in the folds. After that, without removing the cone from the rod, glue it to the workpiece so that the top of the cone is glued to the surface of the workpiece, and the folds of such a "clove" look at you. When gluing the trimmings, remember that the closer to each other you place them on the surface of the product, the fuzzy and neater it will look. If the entire process of painting is painted on the stages, it will look like this:
- We cut the squares (one by one cm) from corrugated paper.
- We make a blank for a three-dimensional product or draw a pattern on a flat surface.
- The blunt end (end) of the rod is placed on a paper square.
- Fold the paper and roll the rod between the fingers.
- We glue the tube-face to the workpiece.
- We take out the rod.
Everything is so simple and laconic that it is possibleeven children. By the way, in kindergartens and schools in needlework lessons children learn technique. And if a real master does this, the result of her work can be a real masterpiece of the technique of cutting.
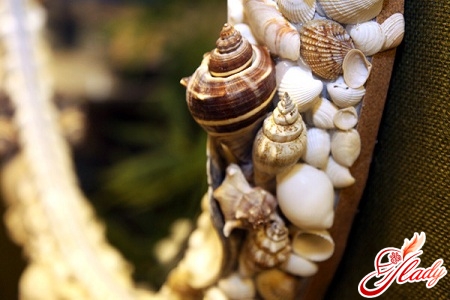
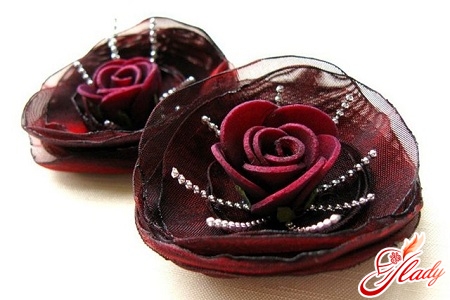
Options and opportunities
First of all, these are all kinds of toys-ornaments. Some needlewomen use this technique in scrapbooking and design of photo frames, decorating with her help greeting cards. If you make a picture or a panel in this technique, you get a real terry mat with a solid pattern or a fluffy outline pattern. For the production of volumetric products, the paper-on-plastic-facing technique is used. For this, a workpiece is made of plasticine, which is fastened without glue to the "face". Very spectacular looking souvenir flower balls and "trees of happiness", made in this technique. The easy-to-perform fronting has an unexpectedly spectacular result, which will not leave indifferent neither the masters, nor those who with this result will admire. We advise you to read: