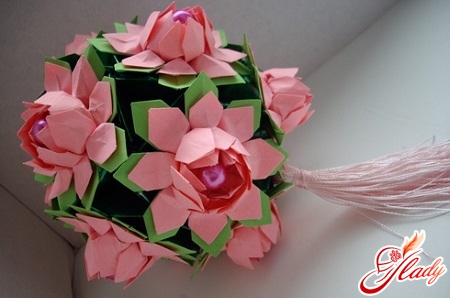
 Making paper flowers has become a hobby for many peoplefavorite hobby. After all, paper was and remains one of the most accessible and surprisingly flexible materials. What kind of paper we don’t use for flowers – crepe, parchment, colored, velvet and even regular office paper! And what extraordinary flowers we can make! Moreover, we also use very, very different techniques for making them, starting from the well-known origami and ending with the very popular quilling. However, even without any special technique, and even with minimal paper skills, you can make flowers of fabulous beauty with your own hands. The most grateful material in this case will be corrugated or crepe paper. Let’s, for example, try to make a poinsettia with our own hands. This magical flower is also called the Christmas or Bethlehem star. It is really very beautiful, and when made of paper it turns out to be surprisingly similar to the real thing. So, stock up on green and red paper and make a poinsettia with your own hands.
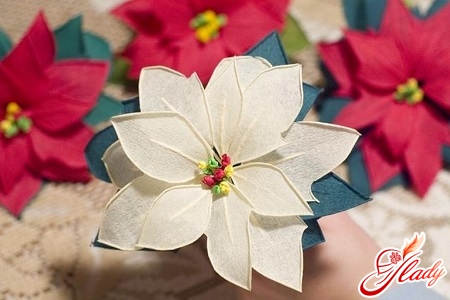
Corrugated Paper Poincette
The flower turns out just like a real one!By the way, live poinsettia flowers are not only red, but also white, pink or beige. To make such a miracle with your own hands, you only need patience, accuracy, materials and tools. To make poinsettia we will need:
- corrugated paper of red, yellow, and two shades of green,
- thin wire;
- scissors,
- glue (not water based).
Take a roll of light green paper and cut it offa longitudinal strip (along the corrugation) the length of the roll and three to four centimeters wide. Now we start making the stamens of our poinsettia from the strip. We roll the paper into a tight long bundle and tie a knot at the end of it. We cut off the excess paper above the knot. We cut off the end of the bundle with the knot to the length of the future stamen. In the same way, we make seven to nine more stamens. From yellow corrugated paper, similarly to green stamens, we make about the same number of yellow stamens. We put them aside and start making the flower petals. From a roll of red corrugated paper, we cut off transverse strips (the cutting line is perpendicular to the direction of the corrugation). Its width should be about ten to fifteen centimeters, but in general, focus on the desired size of the poinsettia petals. Next, we cut these strips into rectangles. In total, we will need seven to ten rectangular blanks (according to the number of petals). Let's make the petals. Fold the rectangular blank in half along the corrugation and cut the edges, giving the blank the shape of a petal (like an inverted silhouette of a mushroom). Twist the edges of the petal, rolling the paper into a tube, and we get a poinsettia petal with a sharp top and two sharp teeth along the edges. In the same way, we make six more petals. Next, cut another transverse strip about four centimeters wide from the red roll and a piece of wire about ten centimeters long. Grease the wire and wrap it with red corrugated paper, simply overlapping the turns of the cut strip on the wire. This will be the flower stalk. Let's make six more of these twisted stalks. Now glue the stalks to the petal blanks, leaving about a third of the wire free. The red petals are ready. All that's left is to make a few more of the same petals from dark green paper. So we repeat the entire process, starting from cutting out the green rectangular blanks and ending with gluing the stalks to the petals. Take the yellow and green stamens, gather them into a bunch and tie them with wire. Cut off a transverse strip of light green paper and wrap the bunch of stamens, forming one thick stem of this multi-colored bouquet. Cut off a long piece of wire and insert it between the stem of the stamens and the free end of the green strip of paper. Fix the wire with glue and make a couple of turns, hiding it under the paper. Continue winding the paper onto the wire around the stem of the stamens, gradually adding red petals and arranging them around the bouquet of stamens in two or three tiers. The first tier is four petals, the lower tiers are the remaining petals, staggered relative to the upper ones. We continue to wrap the wire with green paper, adding green petals. We also arrange them in a checkerboard pattern, but at some distance from each other along the height of the stem. We fix the end of the paper strip with glue and evaluate our creation.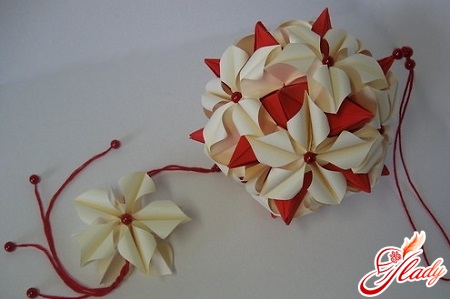
Poincare from scrapbooking paper
Scrapbooking paper is unique in its kind.You can make it yourself, but you can't replace it with anything else. This paper varies in density and is marked. To make poinsettia, we will need:
- green and red paper with a density of 116 grams,
- cardboard for the pattern of petals,
- tweezers for scrapbooking,
- finished stamens,
- golden powder,
- pigment ink,
- glue,
- hairdryer for embossing.
We draw three simple petals of different colors on cardboardsize. Note that the petal looks like a regular pointed leaf with a short and wide stalk. Cut out the templates and cut five petals of each size from red paper. Cut out leaves from green paper in the shape of the leaves of a living poinsettia flower. Wet the blanks of the red petals with water, achieving the softness of blotting paper. Take each petal, fold it in half along the height and use tweezers to lay folds, corrugating the paper. The folds should lie from the edge of the petal at an angle to its middle. Corrugate the green leaves of the poinsettia in the same way. Unfold the petals and leaves, give them shape, forming creases and waves, and leave to dry. The dried parts of the flower will become rigid and retain their shape. While these parts are drying, make stamens. Cover them with pigment ink, sprinkle with golden powder and heat with a hair dryer for embossing. Now that the stamens have turned golden and the petals and leaves have dried, you can assemble the flower. Cut out a circle of red paper and glue the five largest red petals to it in a circle. Glue the middle petals in the second tier, staggering them relative to the lower ones. Attach the smallest petals in the third tier, placing them in the spaces between the petals of the middle tier. Make a hole in the middle of the flower, insert a bunch of golden stamens into it and secure them from below. Glue a few green leaves to the bottom of the flower. That's it, the poinsettia made of scrapbooking paper is ready. Now it can be used to decorate any crafts. This is how easy it is to make this unusual flower out of paper. So don't be afraid to try - you always have to start somewhere. Working with paper is pleasant and easy, so use it at the initial stage of mastering the art of making flowers. Poinsettia is really very beautiful and spectacular, and even beginner needlewomen can make it with their own hands. Go for it! And you will definitely succeed. We recommend reading:


