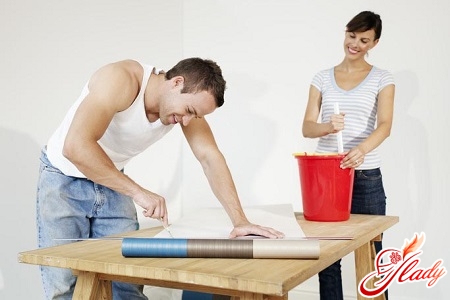
Our dear readers, how often do youAre you doing repairs in your home? Maybe this is your profession? And who agrees that repairs are a pleasant but troublesome business? In any case, when starting cosmetic repairs in an apartment, first of all we want to enjoy the work done and also want the result to please us for many years. However, not everything always turns out perfectly: sometimes the ceilings turn out to be uneven, sometimes construction flaws protrude through the pasted wallpaper; and the corners suddenly get offended at you and puff out their “cheeks”. Remember how we used to have to glue paper wallpaper? Oh, this required “dexterity, hardening, training”! The paper quickly got wet, tore in the most unexpected place, stuck together. And has it ever happened to you that in the morning you found wallpaper on the floor? Not so many years have passed since then, and the wallpaper industry has not just stepped forward, but made a huge leap in its development. "Clothing" for walls is presented in incredible quantities for any color, taste, size, quality. Today you will be offered paper wallpaper, acrylic, silk-screen printing, non-woven, velor and washable.
Fluffy wallpaper
Thanks to its qualities, the greatestnon-woven wallpaper has gained popularity. Most often, this type of wallpaper is intended for painting. And they can be painted with water-based, latex and acrylic paints. In any color. And such wallpaper can withstand up to ten paintings. Using stencils, you can apply drawings of any complexity. Before you learn how to glue non-woven wallpaper, we believe that you will be interested to know what are the advantages of this type of wallpaper over similar paper products. At any construction market they will answer that, firstly, non-woven fabric is much stronger than ordinary paper, although non-woven wallpaper is made on the basis of cellulose and textiles. In addition, the manufacturing technology makes this type of wallpaper resistant to deformation, they do not stretch and do not shrink when drying. Non-woven wallpaper can be glued to any surface: concrete, wood, plasterboard, chipboard. And one of the important advantages of non-woven wallpaper is the ease of gluing, available to absolutely everyone. You just need to know a few rules, which we will discuss below.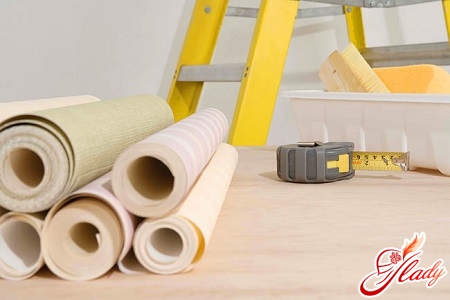
Preparing wallpapers
When purchasing wallpaper, pay attention to the numberbatch of each roll. It must necessarily match, otherwise there may be some difference in color or shade. And the required amount of material can be calculated directly in the store. Professionals usually advise always taking wallpaper with a small reserve, especially if the selected wallpaper pattern needs to be adjusted. After removing the packaging, inspect the wallpaper: it should not have any abrasions or creases. Next, you should cut the strips to the height of the walls with a mandatory allowance for adjustment of five to ten centimeters on each side. Study the label - it usually indicates recommendations for joining the canvases, according to which you should cut the blanks. Types of joints
- Reverse docking means that each subsequent web should be reversed by 180 ° relative to the previous one. That is, you must change the top and bottom of the wallpaper in turn.
- When directly docked, the wallpaper is glued in one direction along one of the selected lines.
- Free docking is the most economicalthe type of joint, as it allows you to glue the canvas one after another, not observing the given pattern. Just remember that glue flizelinovye wallpaper should be butt to prevent seams visible.
- Docking with offset is a laborious kind of docking, which involves drawing a picture. Therefore, for each canvas you need to make a stock of at least ten centimeters from below and from above.
Wall Preparation
Although non-woven wallpaper is quite dense andoften they are pasted on an untreated surface, we still recommend that you prepare the walls in advance. This step will allow you to get a more durable result, and some thin wallpaper samples will not show bumps or stains, which are usually located, as luck would have it, in the most visible place. Thoroughly remove the old coating with all the scraps. If you have difficulty with this, simply wet the hard-to-remove areas with warm water using a bristle roller, leave for a few minutes to soak and easily scrape off the remaining pieces of wallpaper with a spatula. At the same time as removing the wallpaper, unscrew all existing picture screws, protruding dowels, remove sockets, having previously disconnected them from the power supply, unscrew the curtains, and so on - remove everything that can interfere with you gluing the wallpaper… Next, you need to level the surface of the walls: fill the large holes and cracks with cement mortar, and treat small irregularities with putty. Now apply the wallpaper to the wall and see if construction stains are visible through your wallpaper. If so, you will have to treat the entire surface with diluted putty or special paint to give it a uniform color. And only then can you cover the walls with a primer.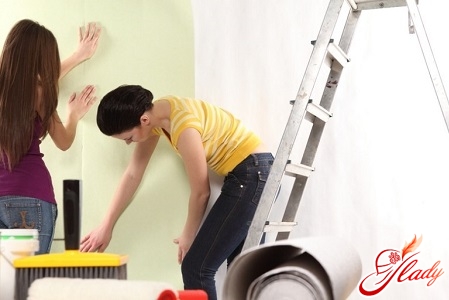
Glue the wallpaper
Answering the question of how to glue correctlynon-woven wallpaper, we will note the main and, perhaps, the only difference of this process. It lies in the fact that the glue is applied only to the walls, the wallpaper itself does not need to be lubricated with any solution. This simplifies the whole process so much that you will immediately become a fan of this type of wallpaper! And of course, you must use only glue intended specifically for non-woven wallpaper. Prepare the solution according to the attached instructions. A common misconception is to dilute the glue in warm water, which provokes the appearance of numerous lumps. Use only cold water, and you will get rid of unnecessary problems. When gluing non-woven wallpaper end to end, it does not matter from which side you start this process, but it is wiser to start from the corner of the room. Using a plumb line or a building level, draw a strictly vertical line and treat the surface with glue slightly wider than the cut canvas. The glue must be applied carefully, using a roller with pile, a brush for hard-to-reach places or a brush. Be careful, there should not be too much or too little glue, in case of incorrect joining the canvas should easily separate from the wall. So, the first canvas is glued strictly along the vertical line. The upper edge slightly captures the ceiling. Then, run a rubber roller along the center of the wallpaper, and then slide the roller in a herringbone pattern over the entire canvas, removing air bubbles and pressing the wallpaper tightly to the wall. The excess canvas at the top and bottom is cut off with a stationery knife, using a metal spatula instead of a stop and a ruler. Press the place where the wallpaper is joined especially tightly with a roller. Glue that appears between the seams must be removed immediately with a clean damp cloth. If the glue is not removed in time, these places will be less saturated during subsequent painting. Important! Wallpapering should be done indoors, and in no case should you open the windows or specially heat the room until the walls are completely dry naturally. Wallpapering the places of sockets and switches
- Disconnect the sockets and switches.
- Remove the outside parts of the sockets and switches.
- Glue the canvas on the wall as a whole, covering the holes intended for the sockets.
- After drying, cut out the wallpaper around the perimeter of the hole with a stationery knife.
- Replace the outer parts of the switches.
- Sealing of internal corners with wallpaper
At first glance, the corner wrapping looks beautifulrooms seems like jewelry work. However, following the further recommendations from our story about how to glue wallpaper on a non-woven base, you will easily learn a professional way to glue corners. Relying on the fact that non-woven wallpaper is mainly one hundred and six centimeters wide, we make two vertical markings on different sides of the corner at a width of one meter. First, glue the wallpaper on one side along the marking line, following the technology described above, and press the canvas tightly at the place where the corner is formed. You will have a transition of wallpaper to the other wall. Then, without delay, do the same operation on the wall on the other side of the corner. In this way, you will have an overlap of wallpaper in the corner. Then, using a stationery knife, draw a cutting line along the corner (or slightly shifting to any wall). Be careful, use a metal spatula for convenience. It remains to carefully remove the cut off excess wallpaper, if necessary, once again treat the corner with glue and press the wallpaper tightly. This is how you will get the perfect joint in the corner. So, now you know how to glue non-woven wallpaper. To summarize everything that has been said, we will note the main differences in the process of pasting wallpaper on a non-woven base: applying glue only to the surface of the wall and gluing the panels in relation to each other only end-to-end. We wish that your renovation will be successfully completed and bring only positive emotions!


