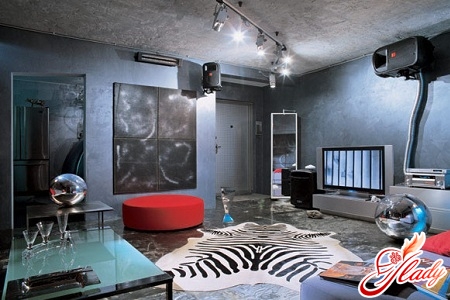
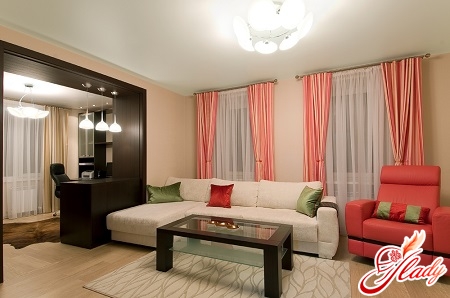
 Times change, fashion changes, styles change.However, a woman's desire to create coziness in her own home remains unchanged. And no matter what modern ladies say about the lack of time or money, practice shows that everything is in our hands. In the literal sense of the word! For example, you want to change the clothes for the window of your most formal room. Naturally, the first thing that comes to your mind is to buy ready-made curtains. But ready-made sets do not always match the interior of your living room, and often cannot boast of quality. Then another thought comes to us - to order curtains in a specialized studio and use the services of a designer. We feverishly search for the right company, happily run there, enthusiastically look at the curtain catalogs and listen spellbound to that very designer. And what happens in the end? In the end, we are speechless from the announced cost of this window show-off and, offended by the injustice of the laws of the market, we return home. And then a seditious thought creeps into our heads, very quietly, with the soft tread of a thieving cat: “Why not sew curtains for the hall with my own hands?” This thought takes over our consciousness so much that day and night we think only about how quickly and deftly we will whip up exactly the curtains we want. And then it turns out that we are not able to understand all these patterns, templates, templates and other intricacies! So what to do? There is a way out, because there are eyelets to help us. So, dear ladies, with our own hands we will sew unusually stylish, fashionable, spectacular and very easy to make curtains on eyelets. Believe me, such curtains will become a worthy decoration of the interior of your hall.
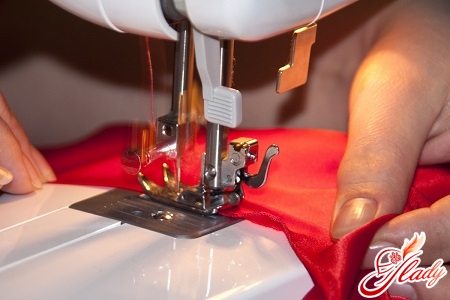
Fabric and tools
For sewing curtains with eyelets you can usealmost any curtain fabric and tulle. So you just have to decide on your own desires and tastes. The only condition that you must comply with is a sufficient size of the fabric cut for sewing curtains. In order for the curtains sewn with your own hands to look beautiful on the windows, it is necessary that the width of the straightened fabric be twice the width of the curtain gathered in folds. That is, for one meter (in width) of the finished draped curtain, you need to buy two meters of curtain fabric. In addition, you will need eyelets and an eyelet tape. The number of eyelets must also be calculated based on the width of the straightened curtain. We will place them along its upper edge at a distance of ten to fifteen centimeters from each other. The deeper you want to get folds on the curtains, the fewer eyelets you will need. The length of the eyelet tape will determine the width of the curtain, which should be approximately twenty centimeters larger than the eyelet tape. We will also need tailor's scissors and a tape measure, an iron, pliers or a punch press, tracing paper, a pencil or chalk and, of course, a sewing machine and threads. It would also be a good idea to buy some curtain rod clips. By the way, when buying eyelets, pay attention to their diameter. It is important that they slide easily along the curtain rod pipe, which means that the eyelets on the inside should be a few millimeters larger than the pipe diameter. You also need to choose eyelets that will go well with the fabric. If you are sewing curtains for the hall from heavy curtain fabric, then buy special rings that can easily hold its weight. By the way, this is exactly the case for which you will need curtain rod clips.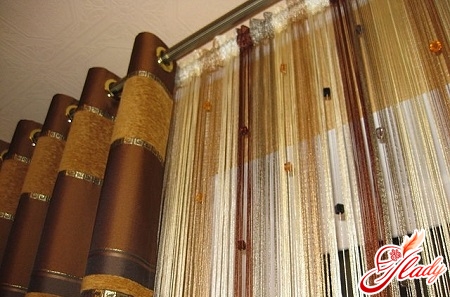
Pattern and sewing curtains
Make yourself a pattern for curtains withлюверсами очень легко. Для этого не понадобится дополнительных лекал и особо сложных расчетов. Вырезаем прямоугольное полотно, ширина которого должна быть в два раза больше ширины шторы в драпировке. Если вы хотите метровые занавеси на люверсах, то выкраиваете двухметровое полотно плюс двадцать сантиметров на подгиб. Высоту штор отмеряйте от карниза до пола плюс пять-десять сантиметров сверху и примерно двадцать или двадцать пять сантиметров снизу. Чтобы складки шторы были ровнее, а накладки держались крепче, пустите по верху шторы подкладку. Не забудьте, что сверху и снизу ткань придется подворачивать, поэтому учтите и запас ткани по длине для припусков на швы. Теперь нужно обработать боковые швы обоих полотен портьер и (или) гардины. Вверху шторы начертите карандашом или мелком горизонтальную линию, отступив от края два-три сантиметра. По этой линии будет проложена подкладочная лента. Отмеченный припуск подогните и хорошенько прогладьте утюгом. Отмерьте нужную длину люверсной ленты (ширина полотна минус десять сантиметров). Пристрочите ленту с изнаночной стороны полотна, отступив от верхнего края и с боков по пять сантиметров. С боков ткань дважды подверните, замаскировав ленту. Отберите нужное количество люверсов, рассчитав его по глубине складок. Это, пожалуй, самый сложный и самый ответственный момент. Во-первых, количество люверсов должно быть обязательно четным. Во-вторых, располагаться друг от друга они должны на равном расстоянии (десять-пятнадцать сантиметров). Рассчитав количество люверсов, отметьте их расположение на шторе мелком или карандашом. Далее разложите люверсы по меткам и обведите их с внутренней стороны кольца. Вырежьте ткань внутри обведенных кружочков, сделав отверстия чуть меньшего диаметра. Вот теперь можно вставлять сами люверсы. Вставьте люверсы в отверстия с лицевой стороны шторы, заправив под них ткань. Обратите внимание, что оба кольца люверсов должны плотно защелкнуться. Если своими руками вам это сделать не удается, то воспользуйтесь плоскогубцами. Чтобы не повредить люверсы, положите под плоскогубцы кусочки ткани. Но еще лучше воспользоваться пресс-перфоратором. Шторы почти готовы! Осталось обработать их нижние края. Чтобы нижний край шторы не перекашивался, необходимо сделать красивый двойной подгиб. Для этого сначала заутюжьте весь подгиб и разверните его. Теперь сложите его пополам (половина длины подгиба) и снова загладьте сгиб. Сколите его булавочками, или наметайте, подогните ткань по первому заутюженному сгибу и прострочите ее на машинке потайным или прямым швом. Выньте булавки или наметочную нить. Вот теперь наши шторы для зала, сшитые своими руками, готовы окончательно! Нанизываем люверсы на карниз, расправляем складки и любуемся своим творением! Вы увидите, что сшитые своими руками шторы выглядят вполне достойно. А разве не этого мы хотели? Преимущества штор на люверсах для зала неоспоримы. Вы смогли выбрать именно такую ткань на шторы, какую хотели. Вы сшили шторы для зала своими руками в очень короткие сроки. Вы не оплачивали услуги сторонних дизайнеров и мастеров. Вы получили действительно модные и стильные занавеси. Единственное, что может вас огорчить – ощутимые затраты на приобретение самих люверсов. Но в любом случае шторы, сшитые своими руками, обошлись вам дешевле заказных. Цель достигнута! Советуем почитать:


