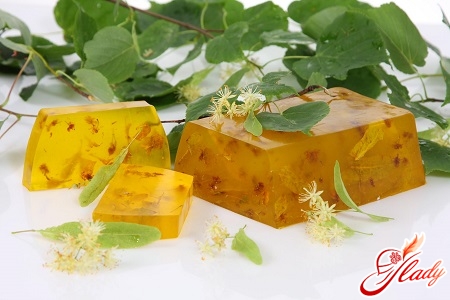
 In recent years, the “fashionable” has been gaining popularityhobby – soap making at home. More and more people share their experience of soap making at home, there are entire websites on the Internet dedicated to this art: master classes are held on the topic of “how to make soap at home”, online soap making lessons are offered, professionals introduce beginners to the secrets of soap making. We have prepared this material specifically for those who want to find out how to make soap with their own hands. We will tell you what materials are used for soap making, what basic rules of soap making you need to remember, how to originally pack it and much - much more. Soap making is not only an addictive hobby, but also a very useful activity. If you understand the basic principles of how to make soap at home, master the technique of soap making, you will forever have no problem choosing original, useful and beautiful gifts. The search for cleansers that suit your skin will be a thing of the past. Because now you can create a fragrant piece using the soap making ingredients that suit you. You can realize your creative abilities.
Accessories for soap making
Hand soap making is a space forcreativity, an exclusive skill that can turn from a hobby into a business. But like any serious business and any serious hobby, soap making at home requires certain financial costs. Buying ingredients for soap making is an expensive pleasure. It is difficult to get by with the contents of your medicine cabinet and kitchen cabinets; making soap with your own hands requires special expenses. In addition, the soap making process is so exciting that it takes a lot of time. Be prepared for this. So, what soap making accessories should you stock up on?
- Baby soap (does not have a strong smell and is not expensive).
- Base oils for soap making (almond, olive, sea-buckthorn, cedar ... Any oil without a pungent smell).
- Essential oils - for soap making you choose the most pleasant aroma: lemon, lavender, tea tree, etc.
- Dyes - for soap making, you can use conventional food colors that can be found in any store.
- Dishes for a steam bath (remember that the dishes in which you cook soap can not be used for eating).
- Molds for soap making (preferably not glass).
As a soap making mold we recommenduse silicone, rubber or plastic molds, such as small baking molds or children's sand molds. It is better not to use glass molds for soap making, as it will be quite difficult to remove the finished product from them. We also do not recommend using metal molds, especially aluminum. During the process of soap making from the soap base, its components can react with the metal and cause corrosion. And the color of the finished soap may not be what you expected.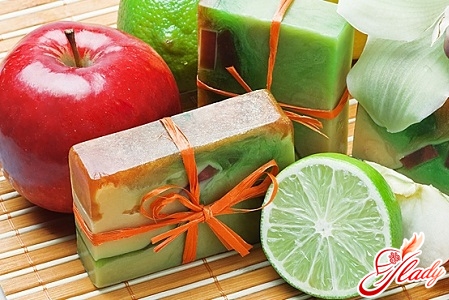
Ingredients for soap making
So, let's talk about the components for soap making. Each master has his own list, so we will dwell on the main ones in detail. So what do you need for soap making?
- In the factory child soap is added a minimum of flavors and dyes, so to develop soap technology, baby soap is a good base.
- A ready-made basis for soap making gives room forcreativity. It does not have a smell, it dries quickly, it perfectly cleanses and does not dry out the skin. Soap making from the soap base - the process is easier and more pleasant than soap making from baby soap.
- Base oil for soap making, or base oil. It is added when the soap mass melts. Depending on what property you want to inject soap, different versions of the base oil are possible, most often in soap making, olive oil or almond seed oil is used.
- Essential oils will add to the product your favorite fragrance. In addition, they have the ability to influence the psyche and well-being of a person. Depending on the purpose, you choose oil for soap making.
- As colorants for soap making, you can use juices, herbal decoctions and conventional food colors. Sometimes, the dye is oil base.
- Additives. At manual soap making, any products are used. Milk, chocolate, herbal decoctions, oat flakes and ground coffee (excellent scrub ingredients), coffee beans, rose petals, seeds, sparkles are indispensable for soap making. They are indispensable for decorating a ready-made piece of soap, etc.
Important nuances
The process of soap making at home requires taking into account several important nuances - this will help you avoid getting into an unpleasant situation.
- Essential oils.
Remember that essential oils have a very highconcentration and if you put too much of them, you can face unpleasant consequences: from allergies to chemical burns. After the soap making process is complete, test it on a small area of your skin, wait half an hour, and if there is no negative reaction, feel free to use your product as intended. By following this rule, you will be sure that the soap you created with your own hands will not harm your health.
- Capacities.
The dishes in which soap was cooked at home cannot be usedused for storing and cooking. In order to make soap with your own hands, you need to allocate separate dishes - only for the soap-making process.
- Allergic reactions.
It is very important to remember that sometimes homeSoap making can cause an allergic reaction to any component. Therefore, always keep an anti-allergic remedy in your medicine cabinet. Which one exactly is best to consult with your doctor.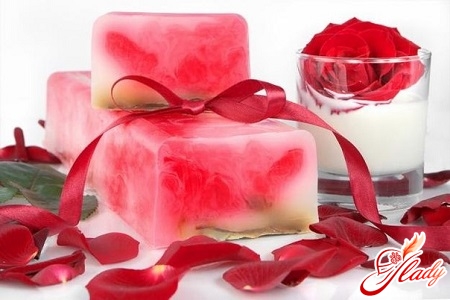
Soap technology
Let's get to the point that worries usreaders: soap making at home. In order to make soap at home, the so-called cold method of soap making is used. In general, the classic technology of soap making looks like this:
Then we give the pieces two monthsmature in a ventilated room. You should not use the soap before this period: unripened soap is not very useful for the skin, over time it will become more tender and soft, its acidity level will decrease and aged soap will be used more economically. Soap making from baby soap is simpler than the cold method of soap making. We recommend this method as a soap making technique for beginners. The technology is also quite simple.
Interesting recipes
We have told you about the main points of creationsoap with your own hands. You need to know these basics to master soap making - in the future, you can come up with recipes yourself, depending on your taste and needs. But we will still take a risk and offer you some of the most popular recipes. Scrub soap This soap recipe will come in handy for those people who have quite problematic facial skin. To prepare it, you will need the following ingredients:
- freshly ground black coffee
- water (150-200 ml)
- soap base (for the preparation of which you will need two pieces of baby soap and warm water)
- Base oil (almond, sea-buckthorn, olive one tablespoon each)
- Essential oils (bergamot, ylang-ylang, rosemary, patchouli - depending on the skin condition and the desired effect) three to four drops of oil
- Soap molds
Soap "Pink Dream" In case your facial skin is very dry and sensitive, we offer you the following recipe. We will need:
- 100 grams of white soap base
- one tablespoon of pink clay
- one teaspoon of apricot essential oil
- five drops of vanilla oil, flower shape
Sea Bottom Scrub Soap This recipeis almost universal, but this soap is most useful for those people who suffer from boils. In addition, the recipe will also be useful for those people who have abundant acne. We will need:
- 100 grams of transparent soap base
- two drops of blue food coloring
- half a teaspoon of olive oil and grape oil
- flavoring "sea"
- one teaspoon finely chopped algae.
Strawberry Cream Soap People with dry sensitive skin should add this recipe to their collection. We will need:
- 100 grams of opaque base
- half teaspoon of olive oil and strawberry seed oil
- red or pink dye
- two tablespoons of cream
- flavoring "strawberry" and "cream".
Of course, all the above recipes areyou can modify it according to your preferences, because soap making at home is attractive because you can give vent to your imagination and creativity. Yes, yes, soap making at home is real creativity, because you are not just creating soap - in your hands, albeit a small, but a miracle is born! And as you know, a miracle cannot be stuffed into strict recipes.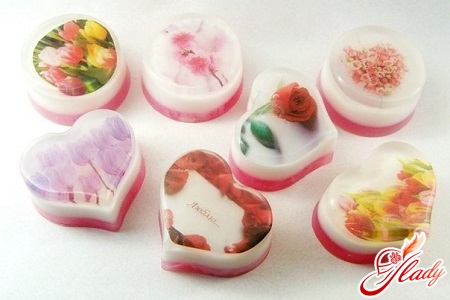
Errors of a beginner soap
Since we decided to cover the topic of “homesoap making" in full, it is worth mentioning the main soap making mistakes that you may encounter. There are mistakes that are related to the aesthetic side of the issue - the soap does not thicken well, breaks, falls apart when cut. Such problems are easy to avoid if you use materials with a normal shelf life for soap making and strictly adhere to the proportions.
- Soap does not thicken
Make sure you add the correct amount of NaOH.If the amount of alkali is correct, then perhaps the soap has a high percentage of "soft" oils (sunflower, safflower). In this case, prolonged (15-20 minutes) mixing of the mass with a mixer will help.
- Brittle soap
If the block is cut into pieces, the soapbreaks, crumbles and even burns your fingers, then there is a chance that you have added too much caustic soda. This effect occurs when the soap contains a large amount of fats that harden at room temperature. This defect does not affect the quality of the soap and is an external flaw. The use of certain essential oils can also cause the soap to break. Next time, try any other recipe.
- It turns out a soft soap, when cutting, it breaks down into parts
Most likely, your soap failed to pass the gel phase. To solve this problem, you need to leave the soap to mature for an additional two weeks or cut the soap into pieces with a guitar string.
- White coating
A thin white coating has formed on the soap block,which is also called "soda ash"? This is a visual defect that does not affect the quality of the soap. You can avoid this effect by covering the raw soap with a plastic bag immediately after placing it in the mold. The plaque can be washed off or cut off with a knife. Warning! Do not confuse this defect with crystallized alkali. However, there are also soap-making mistakes that can affect your health. Remember this simple rule carefully - this will help you avoid problems. Sometimes you can see white spots in the soap. Be careful! These spots may be alkali crystals! It happens that the caustic soda crystals do not completely dissolve in the liquid. Test a couple of crystals with a test strip. Alkali? The worst possible defect, since in this case the soap will have to be thrown away. The reason for the defect is that during preparation, the alkali crystals in the alkaline solution did not dissolve sufficiently. Well, you can consider that you have received a basic lesson in soap making. You have information about what soap-making supplies you need to buy, you have learned some soap-making recipes and you can confidently experiment and fantasize. Choose any recipe you like and go for it! An unconventional hobby will allow you to attract additional attention to yourself. After all, now they can say about you: “Oh, she has mastered the science of soap-making with her own hands!” We recommend reading:


