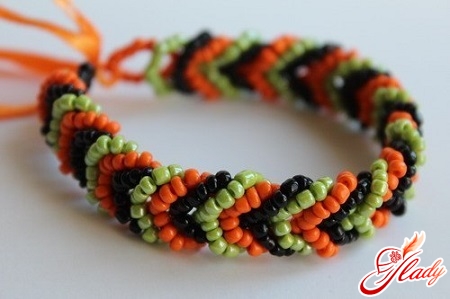
Any needlewoman who respects herself andwants to develop in their craft, should be able to not only embroider, knit, but also weave baubles from ribbons. At first, this may seem like a rather complicated process to you, but over time you will gain experience and this activity will take a minimum of effort from you, and the result will delight your loved ones and friends. There are various patterns and methods for weaving baubles. But to make it easier to learn, first take 2 satin ribbons and weave a bracelet from them. Then, when you understand the principle, you can gradually increase their number to 3, 4 or more.
A Brief History and Methods of Applying Freshenes
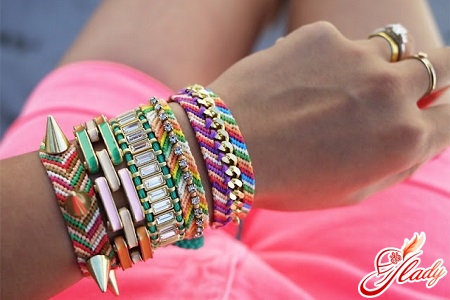
Weave something similar from ribbonsModern baubles were originally an idea of the Indians. They were the ones who started this type of handicraft and were the first to create weaving patterns. Every self-respecting Indian had to have at least 3 woven bracelets at his disposal. This was considered a symbol of his clan! In ancient times, such baubles made of 2 ribbons were used as special symbols of reconciliation and friendship. And healers, sorcerers and shamans, making such things, spoke health, love and wealth on them. It was believed that the one who wears a charmed bauble made of ribbons will completely attract what it is charmed for. Officially, the fashion for bracelets woven from ribbons began in the 60s. Then baubles first began to be worn as an indispensable attribute of hippies, and later teenagers adopted this. Baubles today are just the accessory that can be worn by both girls and boys. Many famous designers are even inclined to add them to their outfits. These are truly universal accessories, because they can be worn as bracelets on the hands (it is especially fashionable among young people today to wear 3 or 4 bracelets on the hand at once), as decoration on a bag or clothes, you can make keychains and cords for mobile phones from them. Regular hairbands decorated with baubles made of 2, 3 or 4 ribbons will also look very beautiful. And sewn together, such baubles can be used as material for a bag, hat and blanket.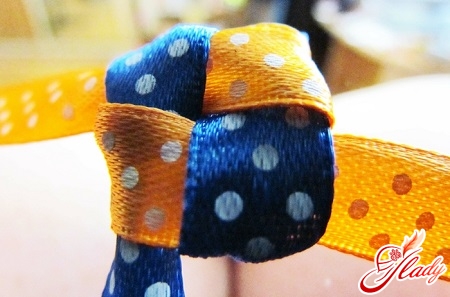
Technics of weaving baubles in 2 ribbons
First, you need to decide what kindthe colors you want to see the finished product. It is best to choose 2 satin ribbons of bright and matching colors. The length of the ribbons should be at least 1 m, but not more than 3 m. And another piece of advice for beginners: choose ribbons that are not too wide (up to 3 cm). This will make it much easier to learn how to weave in the shortest possible time. Connect the ends of the ribbons and make a small loop. Try to tie it as carefully and tightly as possible, since the density and quality of the product will depend on this. After that, take the free ends of the 2 ribbons and make a loop from each of them (this will resemble “ears”), without tying anything. Then carefully thread one “ear” into the other and tighten it all with the end of the ribbon. So gradually make “ears” and tighten one into the other until the ribbon runs out. Note that it is very important to alternate colors and not tighten the ribbons very tightly. At the end of weaving the bauble, make a strong knot. As a result, you should get something similar to a 3-row braid. Such a bauble can be attached to clothes, to a hair band, or you can simply decorate some objects with it. Here everything depends only on your imagination.
Weaving the simplest original and round baubles of 2 ribbons
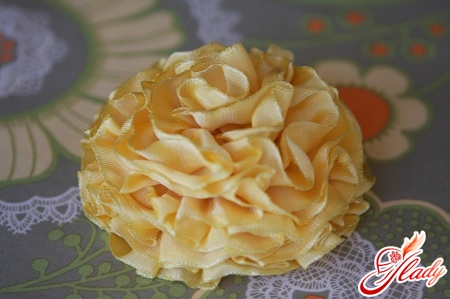
Take 2 satin ribbons of discreet colorsup to 1 meter long. Fold one ribbon completely in half, and the second one - so that the tip is up to 15 cm long. Then take the long end of the second ribbon and alternately throw it over one end of the ribbon folded in half, then over the other. You should get a bauble that looks like 2 chess rows connected to each other. Then it is pulled into a knot at the end, after which one end is connected to the other with a beautiful bow. The bauble is ready! And another option. Take 2 satin ribbons of different colors, 3 meters long. Lay them out on a flat surface crosswise and fix them in the middle with a regular pin. You should get a cross of 4 tails. Then we put these ribbons between each other so that a two-color square is formed, which then needs to be tightly pulled into a knot. When pulling, you need to make sure that the ribbons in the square do not curl. However, if you want to make a rather dense bauble, you can tighten the ribbons more tightly. Then you will get something similar to a folded flower. Then we begin to lay out the remaining pieces of ribbons and tighten them. All this must be repeated until you weave the required length of cord. When such a cord is ready, carefully pull half of the ties under the bottom of the ribbon from the opposite end and tie it tightly. You can tie it with a bow, or with a simple knot - to your taste. Such a bauble looks very original as a bracelet on the hand.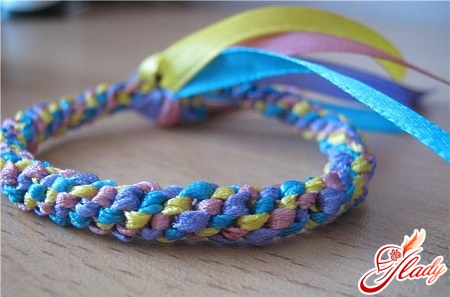
Square baubles of 4 ribbons
Buy 4 satin ribbons, you can do everythingdifferent shades, but preferably in the same color. The width of the ribbons is up to 2 cm, and the length is 3 or 4 m. Take 4 ribbons and tie them together into one, leaving a 10 cm margin. Straighten all 4 ribbons crosswise to the sides, up and down. Bend the first ribbon into a loop, then cover it from right to left with the second ribbon, which you also bend into a loop. Then take the third ribbon and overlap the second with it. The fourth ribbon is folded back from left to right and pushed through the eye of the very first ribbon. All the tails of the 4 ribbons are pulled together, after which a rather beautiful voluminous square is obtained. If the ribbons are wrinkled during the pulling process, straighten them. Repeat everything again until the ribbon runs out, and then easily pull all 4 ribbons together and fix them. This 4-ribbon bauble looks very elegant, but you should be extremely careful when handling it. It is quite voluminous on all four sides, so it is better to use it as a decorative item rather than wear it. For example, you can use this bauble to decorate curtains or tulle. This bauble will look very beautiful as a keychain on a bag. Another win-win option is to decorate the frames of wall paintings.
Weaving bracelet from satin ribbons with the addition of beads
But there is no specific pattern for this bauble.weaving - everything is very simple here. Take a ribbon of the length you need, step back about 15 cm from the edge. Thread a silicone thread folded in half into a needle and tie the ends of this thread together. Then, exactly in the middle of the ribbon, thread the needle so that it enters from the front side and comes out after about 2 or 3 cm, also from the front side. The ribbon should tighten at the point where the needle punctures it. Then string a bead on the needle, without removing the thread, and tighten it as well. After that, repeat the procedure, alternating the tightened stitches of the ribbon with the beads. Make sure that the length of the stitches is the same, otherwise the bracelet will not be neat enough. At the end, cut the thread and tie its ends several times. Leave small tails so that the knots do not untie. The ends can be hidden inside the last bead - then it will be hard to see where the weaving ends. Just be sure to singe the ends before this to prevent them from unraveling spontaneously. This is a very simple, but at the same time festive bauble. Alternatively, you can take 3 or even 4 ribbons of different widths at the same time and put one on top of the other. Then you will get a more voluminous and rich bauble made of 3 ribbons. By the way, decorated with flowers, it is perfect even for a wedding dress! Many even prefer to use it as a garter for the bride - both beautiful and unique at the same time.


