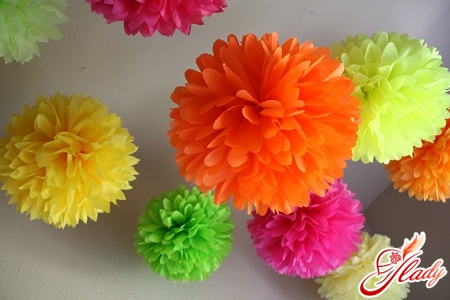
 Paper flowers have become very popular today,probably because the techniques have improved. And these hand-made examples of masterful natural creation are no longer associated with the vulgar wedding roses of the Soviet kitsch era. And the materials today are incomparably better quality than in the recent past. And, of course, making a paper flower with your own hands is much easier thanks to His Majesty the Internet, where you can find sample pictures, and detailed instructions, and master classes recorded on video. But if you are just a beginner craftsman, then try to make a very simple flower and take the most convenient material for this purpose - corrugated paper. It is from this paper that you can make a very "natural" flower with your own hands, even if you do not have sufficient experience in paper plastics. Yes, yes, this is the name of the technique in which flowers and other interesting crafts are made from paper. So replenish your supplies of corrugated paper, prepare scissors, wire, glue and get started ...
Rosebud
These paper flowers are perfect forsweet bouquet. Corrugated paper is generally actively used by masters of sweet design. And if you have decided to try your hand at this art, then start with a rosebud. It is very easy to make such a flower with your own hands. For this we will need:
- Corrugated paper for the color of the future bud (peach, pink, white, yellow, red);
- green corrugated paper for leaves;
- sewing thread;
- round candy;
- Toothpicks;
- tap-tape;
- scissors.
First we need to make a patternbud, which we will roll from one single petal. Therefore, we first cut out a square blank, the width of which should be such that the paper could be wrapped around the candy one and a half times. Now we cut the upper half of the blank into a semicircle, rounding the corners and keeping the two lower corners straight. Important! The crumpled cells of the corrugated paper should be located vertically on the blank, and it should stretch horizontally. Now we put the candy in the center of the right edge of the blank and begin to wrap it tightly in paper. At the same time, do not forget to slightly pull the paper, forcing the blank to become convex in the place where it touches the candy. Now we stretch the edge of the petal, making it wavy and also slightly wavy the petal on top of the bud. We collect the lower part of the paper bud (directly under the candy) into a bundle and tie it with threads. Insert a toothpick or skewer into the bottom of the bud and wrap it with green corrugated paper (you can see the paper with tape). It remains to make the sepals. For them, cut out a square blank and cut it into teeth on one side (five teeth per sepal). Wrap the blank around the stem under the bud and secure. Twist the ends of the teeth, slightly rolling them sharper between your fingers. The flower is ready to take its place in a sweet bouquet!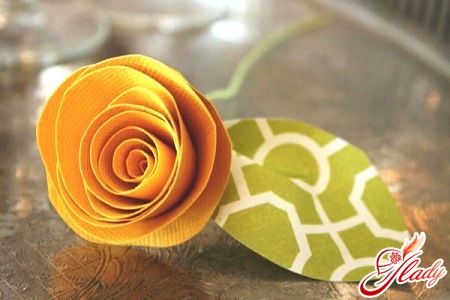
Tulip
These colors are good for trainingimproving paper plastic skills. And the finished flowers will take a worthy place in a decorative bouquet, which will become an exclusive decoration of your interior. So, to make a tulip out of paper with your own hands, you need to prepare:
- Corrugated paper for the color of the future flower;
- green corrugated paper for leaves and stems;
- coil of thread;
- wire for the stem.
We cut out from colored corrugated papera rectangular blank three centimeters wide and eighteen centimeters long (or, for example, four and twenty). The corrugated grains should be located along the length of the blank so that the paper stretches in width. Now twist the blank in the middle, making two turns (like a candy wrapper). Next, fold the rectangle in half (connecting the two three-centimeter edges) and stretch the paper petal, making it convex. The base of the petal - the edge opposite the fold - is compressed and twisted. You should get a kind of spoon with a twisted handle. Make six such petals. Cut a strip two centimeters wide from green corrugated paper (the corrugated grain along the width of the strip), fold it in half lengthwise and wrap the paper around the wire. Now place three petals at the end of the stem (the inner crown of the flower) and three more petals in a checkerboard pattern behind them. Attach the petals to the stem, tying them with a strip of corrugated paper. Cut out long narrow leaves from the same green paper and attach them to the stem. The flower is ready! And if you make several flowers, you can make a gorgeous bouquet of tulips with your own hands and decorate your home with it.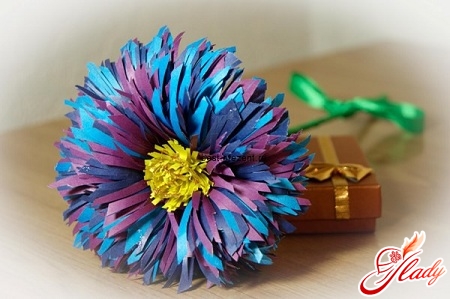
Peony
A great way to make simple paper flowers with your own hands when you need a lot of them. This flower is made quickly and easily, and looks very impressive. To make a peony with your own hands, prepare:
- colored corrugated paper;
- toothpicks or sticks for barbecue;
- sewing thread;
- PVA glue.
First, cut off the strip you need from the roll of paper.width and length: the wider and longer the strip, the more lush the flower will be. To test, cut a strip to the width of the roll. Make sure that the corrugation grain is located along the width of the strip, and its long side stretches. So, cut off the strip, and then stretch one of its long edges, causing the paper to curl slightly. Coat the opposite edge along the entire length with PVA glue and leave the corrugated tape so that the glue dries slightly, and the paper does not creep under our hands. Now take a barbecue stick and fix a paper ball on its top. Or crumple a cotton ball, which we wrap in paper. This will be the base of the flower. Next, we begin to wrap the previously prepared strip around this base, turn by turn, pressing and gluing the edge of the workpiece coated with PVA glue. Straighten the petals of the finished flower and secure the lower part with threads. If desired, make sepals for the peony and wrap the stem with green corrugated paper or tape. This is how you can make paper flowers with your own hands. By the way, these can be not only roses, tulips or peonies, but also other flowers. Corrugated paper makes simply gorgeous irises and crocuses, carnations and chrysanthemums, sunflowers and poppies. So go for it, improve your skills and master the magical art of paper plastics. Good luck! We recommend reading:


