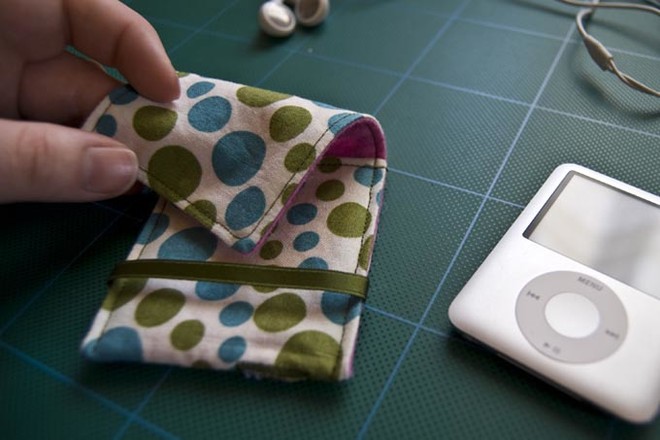
Can't find your perfect iPod case? Make your own - it's quicker than a trip to the store, and way more fun.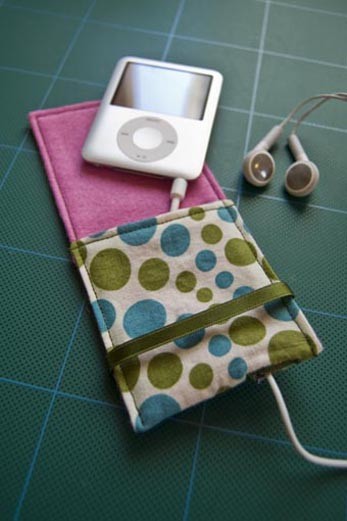 Cover for iPod nanoIn the bag of the player is waitinga lot of trouble. It can be scratched, for example, about a bunch of keys, dirty with ink accidentally lost the cap of the handle, hit something hard during a sharp movement. Such a cover will protect the player from all these troubles, and if you make a top layer of waterproof fabric, then protect it from moisture. In addition, it's just a pretty and bright accessory. You'll need:
- Two pieces of suitable fabric of sufficient width(width of the player + 4 cm) and length (length of the player x3 + 2-3 cm, depending on the thickness of the player). If you have, as in our case, an iPod nano, in order to sew it a "suit" you will need two pieces of 24 x 8.5 cm.
- A piece of braid is 2-2.5 cm longer than the width of the fabric. For iPod nano, you need 10 cm long tape.
- Sewing machine. But if you try to sew smoothly and accurately, or if you want to emphasize that the thing hand made, you can do with a needle and thread.
1. Cut out the desired size of the workpiece. Fold them face-to-face with each other and stitch along the perimeter, leaving the allowances on the seams. On one of the narrow sides of the rectangle, leave a small hole unsplit. Through it we will turn out the future cover.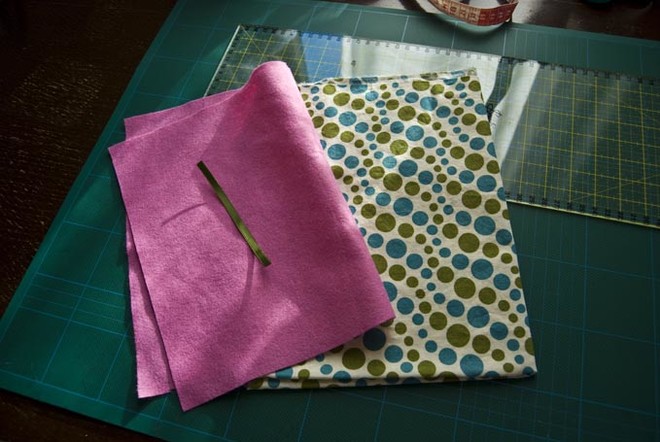
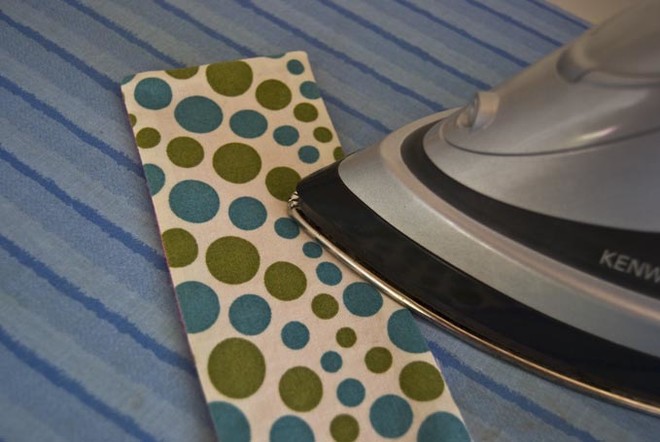
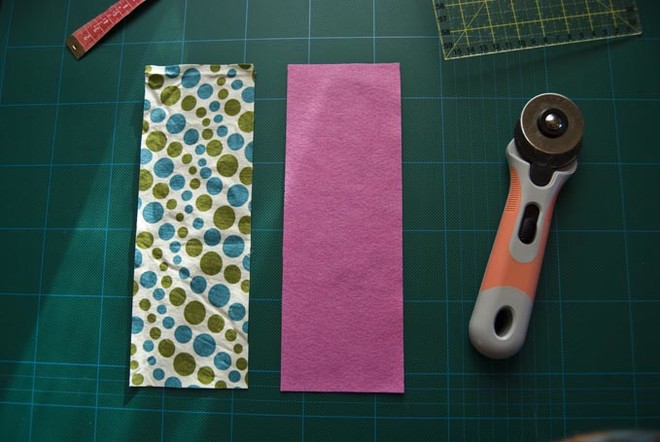 2. Cut the corners with scissors, leaving a couple of millimeters to the seam. Turn out the workpiece, straighten and iron properly.
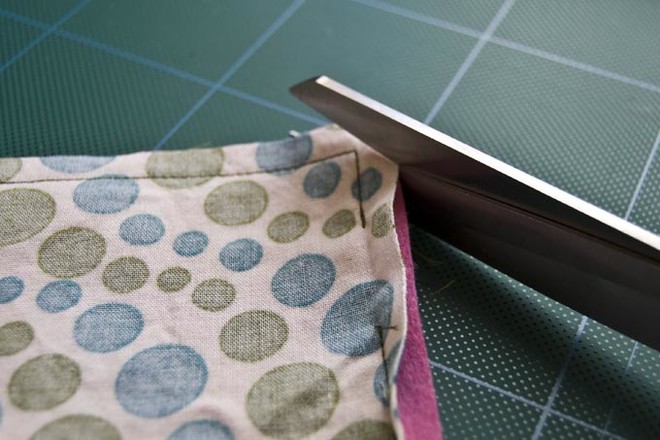
 3. Sew the side with which the hole was left. It's time for the first fitting: wrap the player in a future case, check if all the dimensions match.
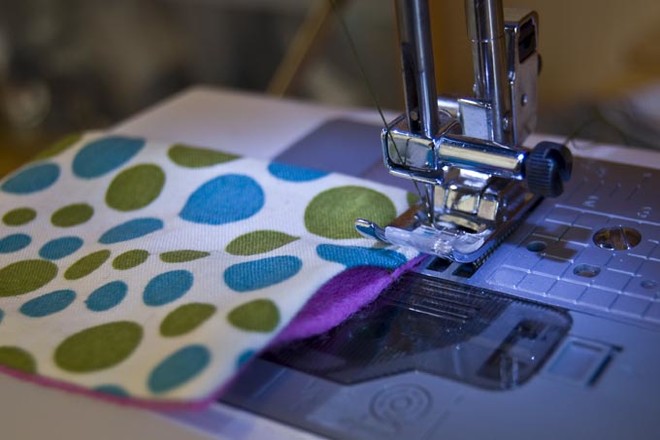
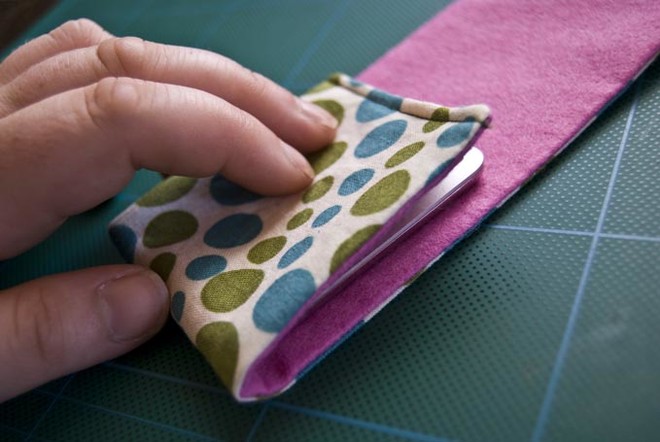 4. Design a place for the loop through which the cord from the headphones will be passed. For sewing loops, a sewing machine with a special automatic machining function is ideal. If not, gently sweep the hole manually. Fold the workpiece. Take a ribbon or braid and lay it between the parts.
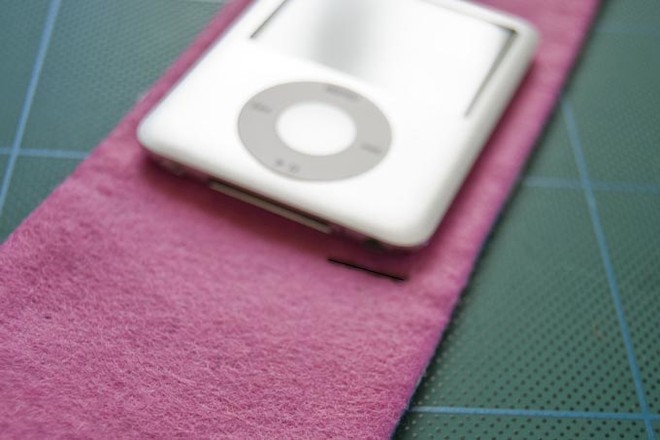
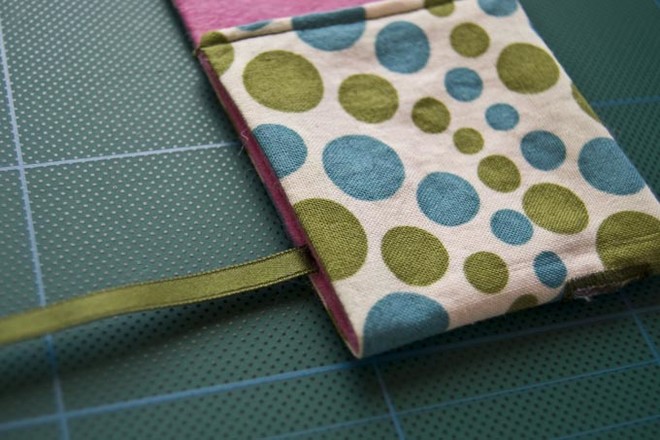 6. While holding the braid, sew the cover from one side. Start the line on the other side, but do not finish until the end, and stop near the place where the braid should be fixed.
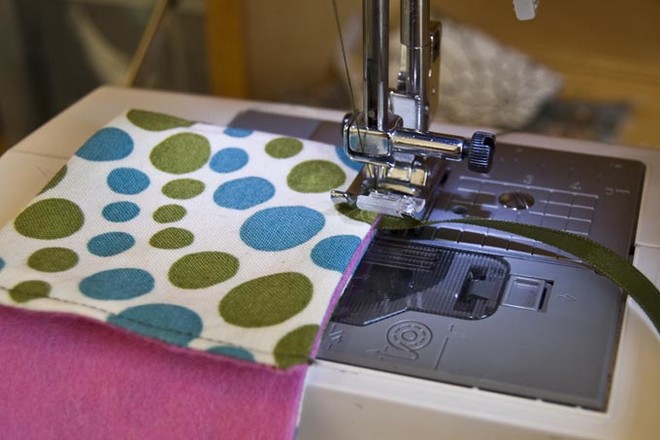
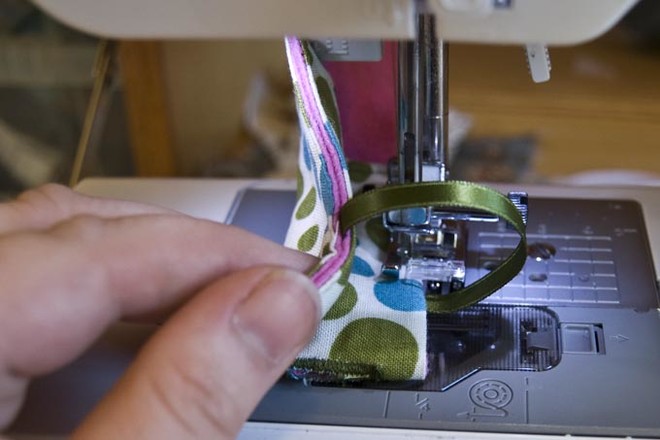
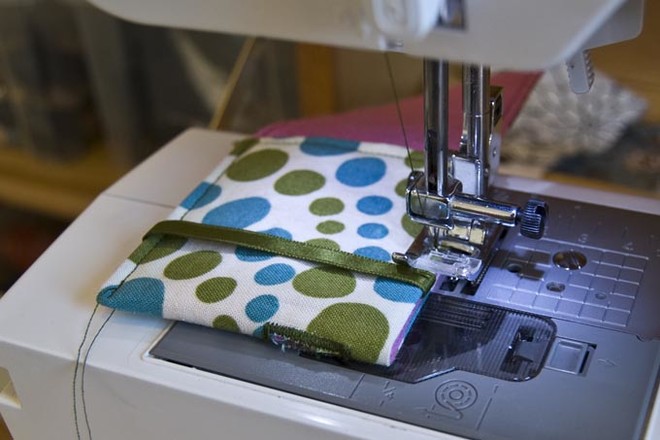 7. Turn the fabric to finish the stitching without touching the tape. All that's left is to tie the knots and hide the threads. The iPod costume is ready.
 Based on Madebypetchy.


