Decorator Ekaterina Savkina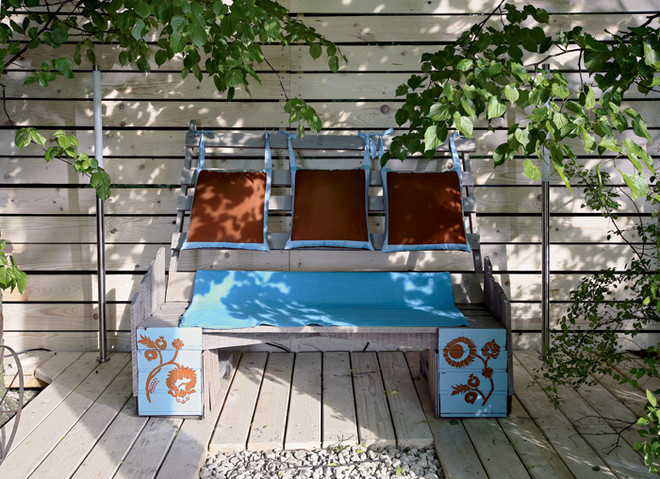 Garden bench do it yourself
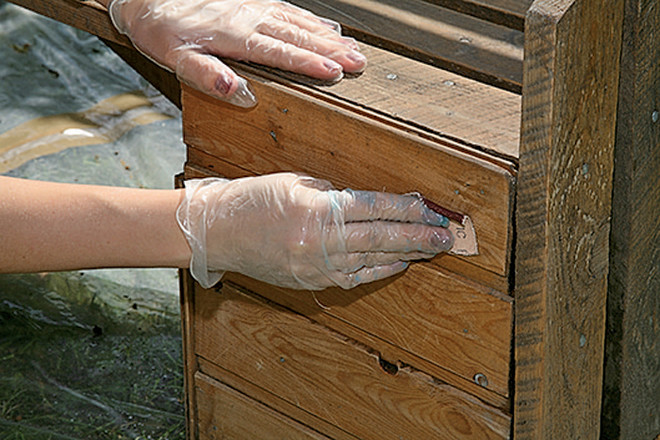
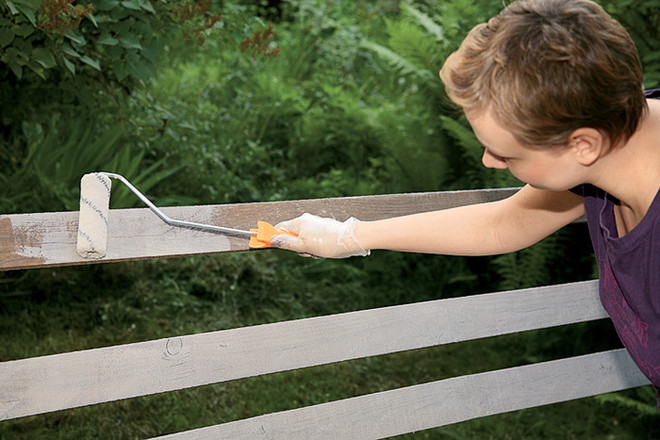
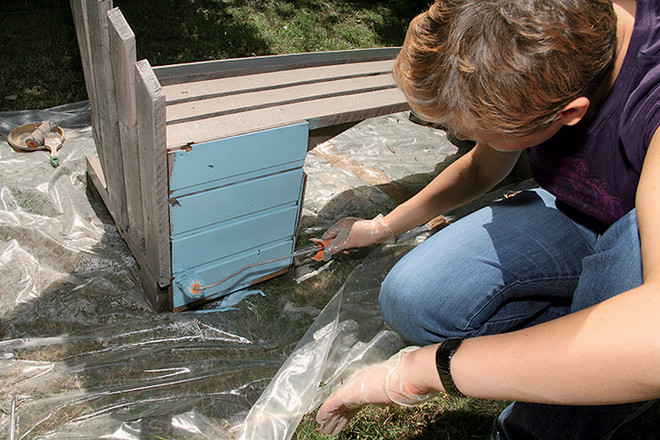 Photo 1,2.The bench was cleaned with a stiff brush from dust, twigs and leaves that had fallen from the trees, and then treated with sandpaper. Photo 3. Pronotex impregnation, previously tinted in the color "oak", was applied to the surface of the bench with a roller. Photo 4. To paint the front boards in blue, Dulux Trade Satinwood alkyd paint (color 50BG44184) was used.
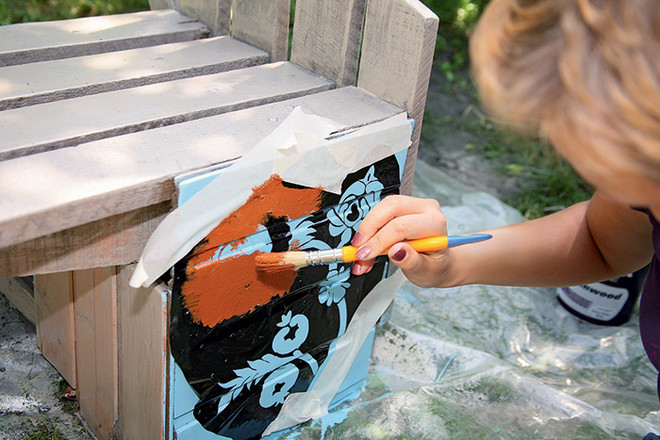
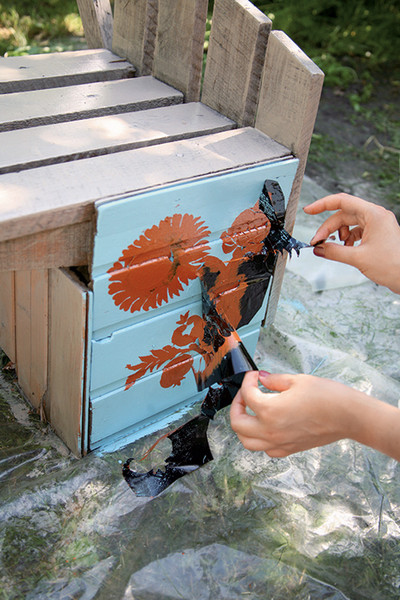 Photo 1.The work of gluing the stencil turned out to be easy. The secret is that the stencil is made to order on self-adhesive film. Photo 2. The drawing was applied to the surface with a brush using a stencil. In this case, brown Satinwood paint (color 70YR16345) was used. It is important to let the layers dry well after each stage of painting. Photo 3. Carefully removed the stencil. The artistic work on updating the bench is complete, it remains to decorate it with textiles. Since the bench is outside, it is possible that a sudden rain will wet it. Therefore, for the covers, we chose polyester fabric with water-repellent impregnation in two colors: brown and blue. Even if the material gets wet, it dries quickly. For three pillows ('Inner' from IKEA) we sewed three identical covers measuring 50 x 50 cm.
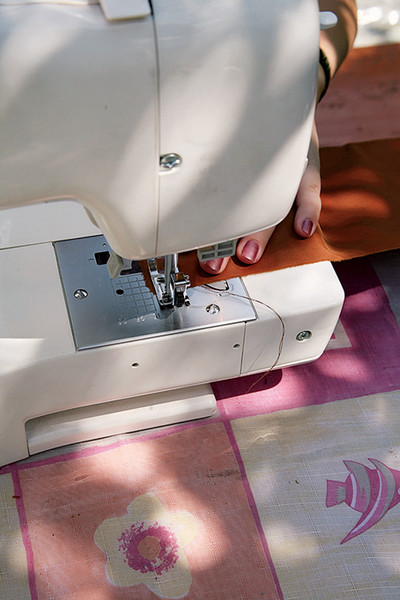

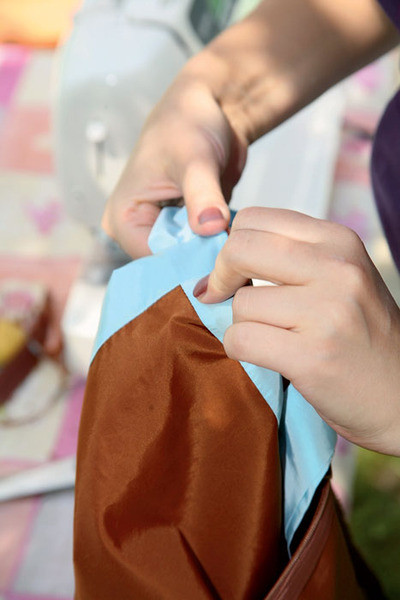
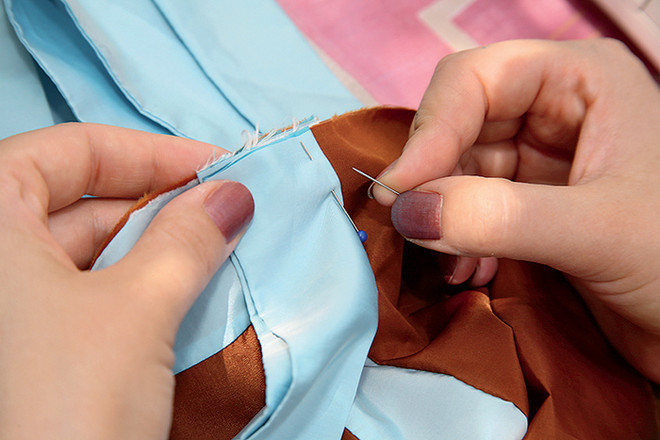 Photo 1.A piece of brown fabric measuring 105 x 55 cm is cut out, as well as 10 cm wide strips of blue fabric. The narrow edge is processed. Photo 2. The narrow edges of the cover are not sewn in the middle in order to insert the pillow. A hidden zipper is sewn in here. Photo 3. The blue trim tape is sewn into the side seams of the cover, after which the side seams themselves are sewn up. Photo 4. The garter tapes are cut in advance along the grain of the blue fabric, then their edges are trimmed and sewn to the cover.
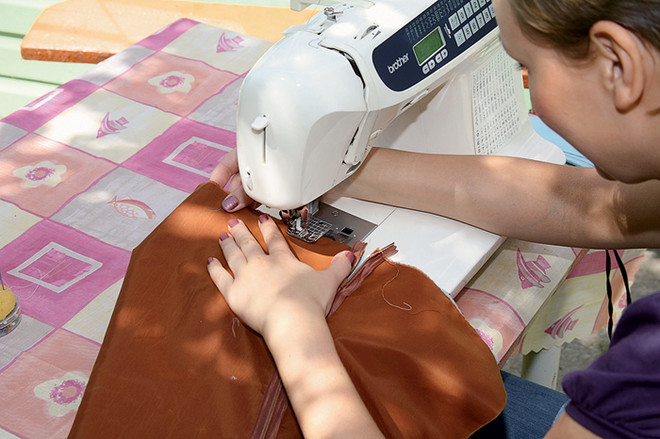

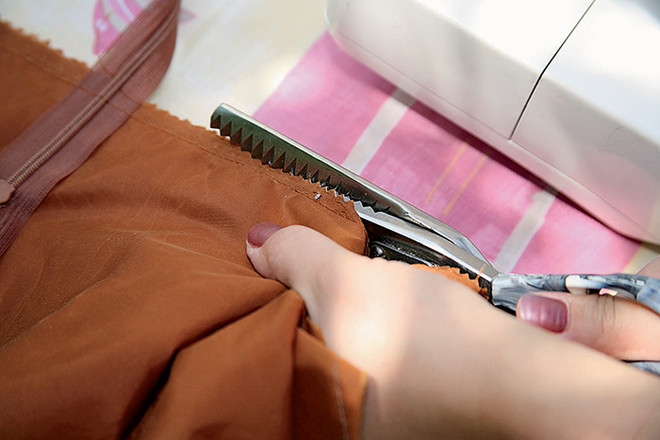
 Photo 1,2.The final stage of making the cover is a reinforcing seam along the edges of the product. It is also necessary to prevent the fabric from fraying. Photo 3. Excess fabric is cut off along the seams on the back side, and also, which is very important, each of the four corners is cut diagonally as close to the seam as possible. This technique is used to ensure that the corners of the finished product do not bunch up and look neat. Photo 4. The pillow is inserted into the finished cover, fastened and tied to the back of the bench. A blue blanket casually thrown on the bench complements the composition and invites you to sit down and relax.

Making Money with Desserts: Success Stories
Evgeniya Polischuk (Fedutinova) instagram:@evgeniyafedutinovavk.com/janeshomebaking– It all started with baking for family and friends. Gradually, I started posting photos of my baked goods on Instagram – and orders started coming in. I made my first custom-made cake on October 13, 2014, and a little earlier I started making macaroons and cupcakes. You could say that the business “found me”, I am very […]

Soups are cold recipes with photos
Cold cucumber soup with yogurt and lemonsorbet from the chef of the restaurant La Taverna Alexander Zhurkin Photo: Getty Images Ingredients: Plain yoghurt – 125 g Cucumber – 150 g Lemon/lime sorbet – 50 g Cocktail shrimp – 24 g Fresh ginger juice – 1 g Lime juice – 5 g Fresh orange juice – 5 g Parsley – 1 g Pink pepper – 1 g Watercress – […]

barbeque kebab
Pork tenderloin in glaze Photo:Dmitry Bayrak/dbstudioPreparation time: 20 minutes + marinating time.Calories: 454 kcal per serving.For 4 servings: 4 pork tenderloins (approximately 300 g each), 1 onion, 2 cloves of garlic, 1 tsp. lemon zest, 1 tsp. lemon juice, a pinch of ground cumin, coriander and turmeric, 1 tbsp. vegetable […]

Pierre Duacan: dietary recipes: Ducane diet
Beetroot soup Photo:Season’S, Luxury Hotels RepresentationYou will need:· Boiled beetroot – 60 g· Fresh cucumbers – 20 g· Red radish – 20 g· Green onions – 10 g· Egg – 1 pc.· Drinking mineral water – 200 g· Salt – 1 gPreparation:· Boil the egg and beetroot.· Grate the cucumbers, radish and part of the beetroot. Put everything […]
