Ekaterina Lebedeva, director and ideologicalthe inspirer of the needlework gallery Nezabudka, offers a small author's master class on making toys on a Christmas tree using velvet powder. You will need any flat figures from plywood, sandpaper, matt acrylic paint, acrylic matte varnish, adhesive tape (I have Craft Premier), velvet powder (I have a Craft Premier), stencils with background drawings to decorate ribbons, rhinestones.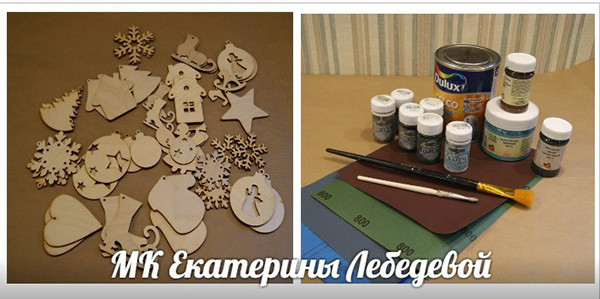 Course of work: 1. The billet of the toy is skins and covered with two layers of matte acrylic paint (in one of the colors that will be used on the toy), dry it.
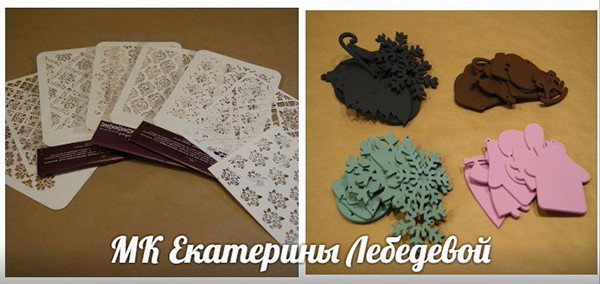 2.Apply two coats of matte acrylic varnish (I use French varnish Dulux celco aqua). Dry and sand with fine sandpaper. 3. Apply adhesive tape to the workpiece with a synthetic brush in a thin and even layer. Adhesive tape is very damaging to brushes (they are difficult to wash off and after applying adhesive tape several times they completely stick together), so take a brush that you don’t mind getting dirty. Dry for 15 minutes.
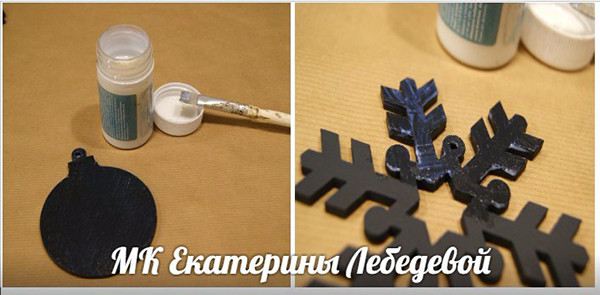 4.We apply the stencil to the workpiece where we applied the adhesive tape, we do not press it into the adhesive tape (it will stick to it well on its own). We sprinkle the first color of powder on top (I have black). With our fingers we lightly rub the powder into the stencil.
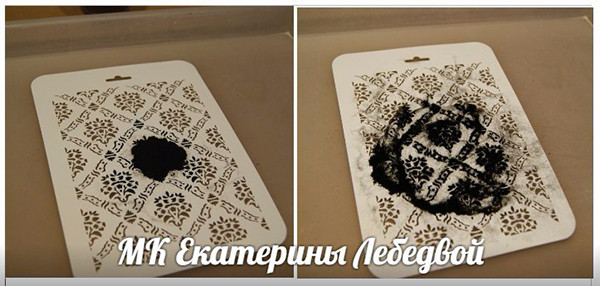 5. We brush off excess powder from the stencil and carefully remove the stencil from the workpiece. If everything is correctly done, then the stencil should not tear and there should be no glue-scotch on it. Here's what should happen:
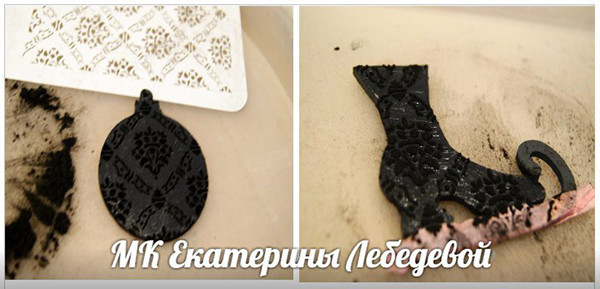 6. Next, we prepare the second contrasting color of the powder to fill the remaining space on the workpiece. The color can be used both in its pure form and mixed from several colors of powder. At me are mixed burgundy, dark brown and black. We fall asleep with the prepared color all the workpiece, including the already made stencil. And just rub the powder in the scotch tape.
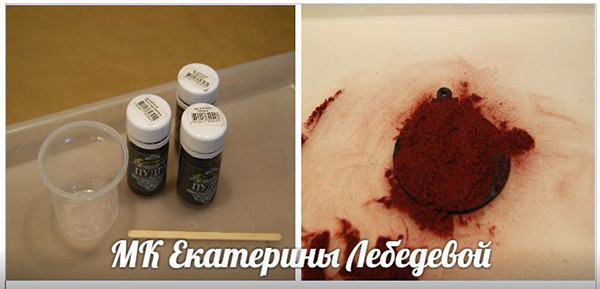 7. Once you feel a dense velvety coating under your fingers, you can stop. First, brush off the excess with your hand and then with a soft cloth.
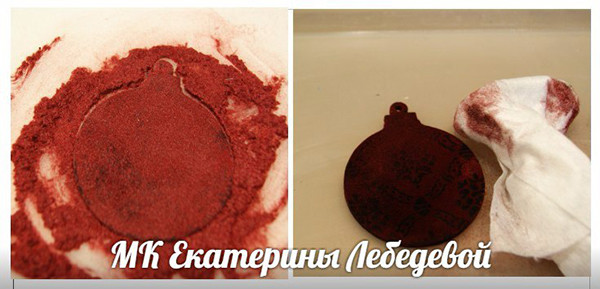 8. Repeat all on the second side of the toy. After choosing a decor of ribbons and rhinestones. We glue on the glue "Moment" gel. Unusual and very stylish toy on the Christmas tree is ready! We rejoice and hang our masterpiece on the Christmas tree.
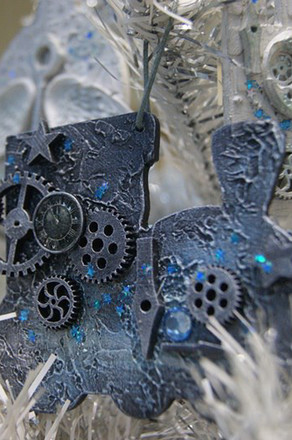
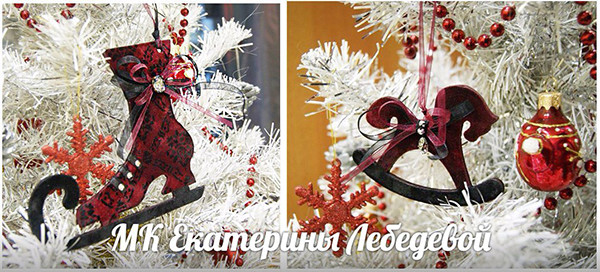 Want to learn the technique of making New Year's Evetoys in perfection? All December in the needlework gallery "Forget Me" is the festival "New Year's Whirlwind". Within the framework of the festival, master classes are held in the studio to make Christmas-tree toys in various techniques. Decor furniture in the style of steampunk. Let's be a hooligan! Create a textured surface with and without a stencil. Complex staining using several techniques. Decor elements of New Year's and "Steampunk" elements. For adults and children from 9 years, the cost is 500 rubles.
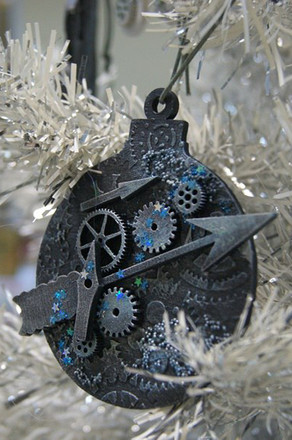
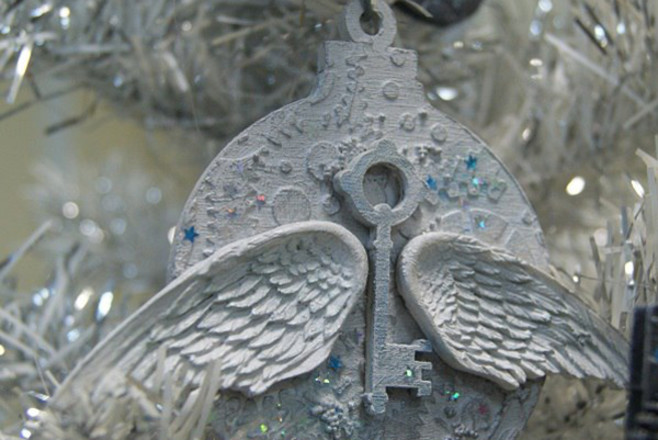
 1 / 3And here is a photo report about the previous master class:

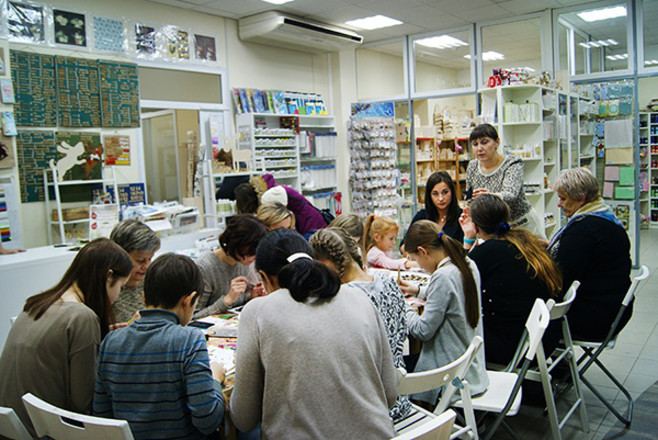
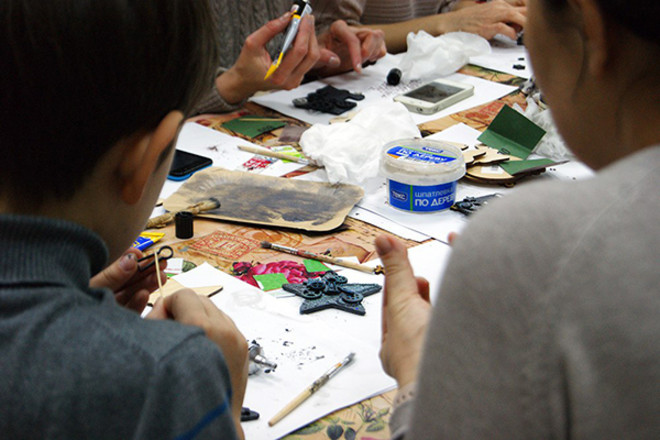
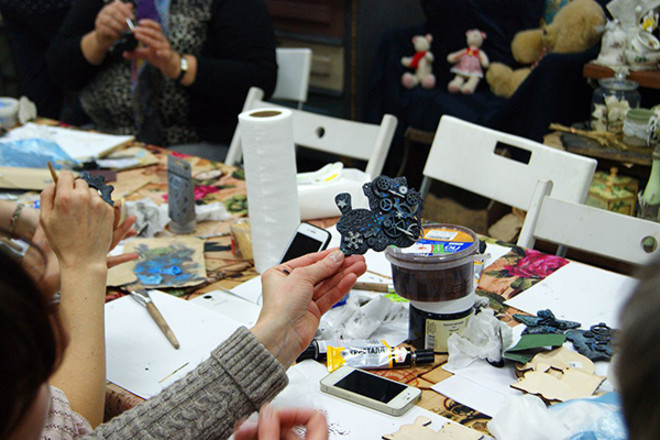 1 / 52. Decoupage of Christmas toys. Only for those who did not do our courses for decoupage (you can do all this without this master class). For adults and children from 12 years. The cost is 500 rub.3. Decor toys horse-rocking. We create a cozy toy as from old childhood. For adults and children from 7 years. The cost is 500 rubles. "Ceramic" Christmas tree toys: we make toys in the technique of cloisonne enamel. Features of work with enamel paints, we learn to create drawings by mixing already applied to the surface of paints. For adults and children from 9 years. The cost is 500 rubles. All materials are included in the price. Everyone leaves home with the finished work. The exact schedule of the master classes can be found in the group https://vk.com/galereya_nezabudka Attention! Mandatory preliminary registration by phone 419-41-02. If you are not in the group, you can just come, see and listen, write down the theory (master classes will be held in the trading hall). We are waiting for you in the store on the street. Piskunova, 25 (Nizhny Novgorod).

Making Money with Desserts: Success Stories
Evgeniya Polischuk (Fedutinova) instagram:@evgeniyafedutinovavk.com/janeshomebaking– It all started with baking for family and friends. Gradually, I started posting photos of my baked goods on Instagram – and orders started coming in. I made my first custom-made cake on October 13, 2014, and a little earlier I started making macaroons and cupcakes. You could say that the business “found me”, I am very […]

Soups are cold recipes with photos
Cold cucumber soup with yogurt and lemonsorbet from the chef of the restaurant La Taverna Alexander Zhurkin Photo: Getty Images Ingredients: Plain yoghurt – 125 g Cucumber – 150 g Lemon/lime sorbet – 50 g Cocktail shrimp – 24 g Fresh ginger juice – 1 g Lime juice – 5 g Fresh orange juice – 5 g Parsley – 1 g Pink pepper – 1 g Watercress – […]

barbeque kebab
Pork tenderloin in glaze Photo:Dmitry Bayrak/dbstudioPreparation time: 20 minutes + marinating time.Calories: 454 kcal per serving.For 4 servings: 4 pork tenderloins (approximately 300 g each), 1 onion, 2 cloves of garlic, 1 tsp. lemon zest, 1 tsp. lemon juice, a pinch of ground cumin, coriander and turmeric, 1 tbsp. vegetable […]

Pierre Duacan: dietary recipes: Ducane diet
Beetroot soup Photo:Season’S, Luxury Hotels RepresentationYou will need:· Boiled beetroot – 60 g· Fresh cucumbers – 20 g· Red radish – 20 g· Green onions – 10 g· Egg – 1 pc.· Drinking mineral water – 200 g· Salt – 1 gPreparation:· Boil the egg and beetroot.· Grate the cucumbers, radish and part of the beetroot. Put everything […]
