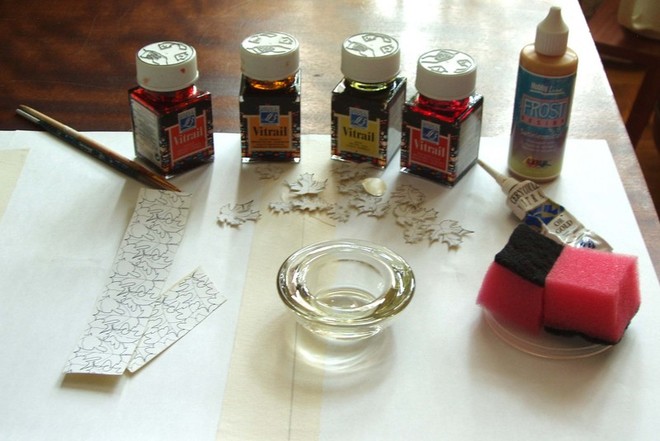
 Do-it-yourself candlesticksFor painting we will need:
- Glass candlestick
- Glass paints (eg L&B)
- Glass contours (L&B)
- Paint for imitation glass frosting — FROST Design (Hobby Line)
- Brushes (round synthetic 0 or 1)
- For washing brushes - thinner - 2 (is 100% white spirit)
- Auxiliary materials: double-sided tape, sponge, cotton swabs, toothpicks, cloth for blotting the brush, etc.
Step 1
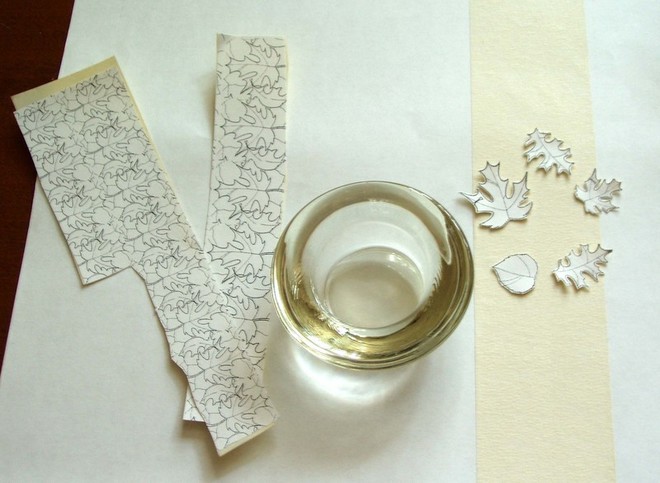
Degrease the glass surface, for this you can use acetone or nail polish remover. You can also simply wash the candlestick with any .
Step 2
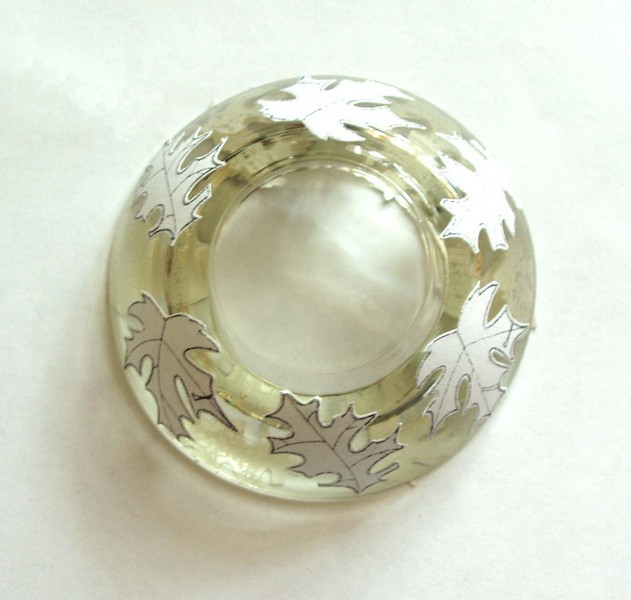
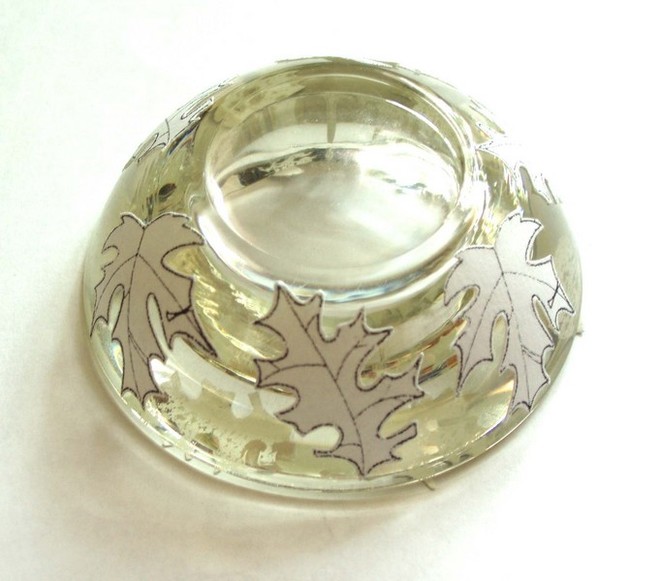 Making a stencil: To do this, you need to print the desired image and stick it on the double-sided tape. After that, carefully cut out the necessary images and paste them over the entire surface of the candlestick.
Step 3
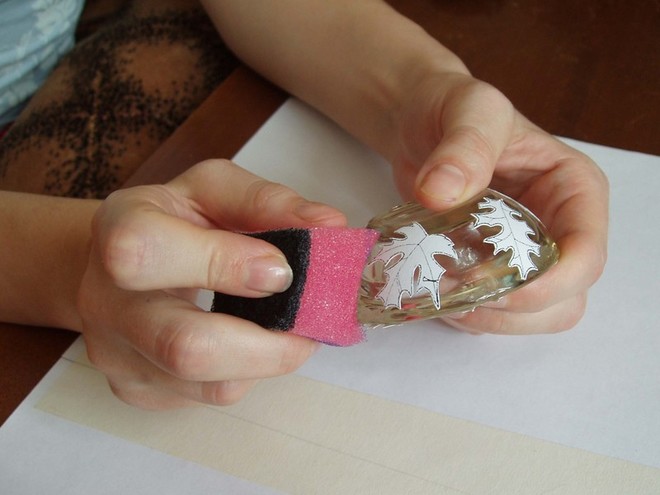
We will create a frosted glass effect forFor this we use FROST Design paint (Hobby Line) - in our case, gold color. Squeeze the required amount of paint onto the tray. Use a regular sponge to apply. Try to apply the paint evenly and quickly enough, as it dries quickly. Let the paint dry, then remove the stencils. Here's what we got: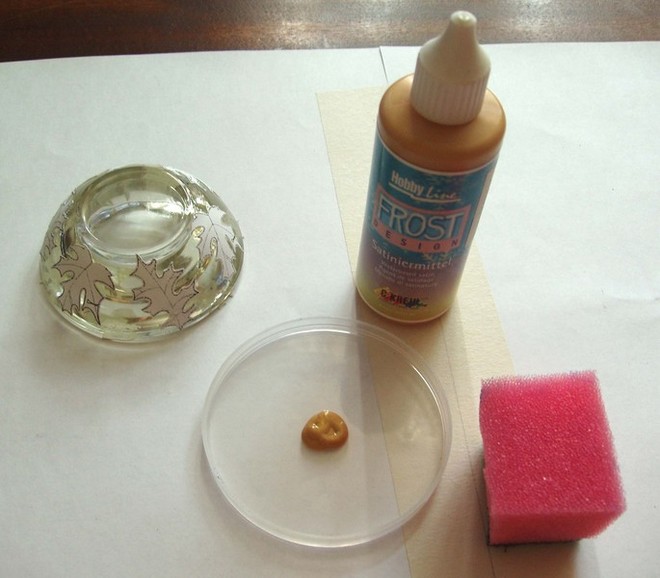
Step 4
FROST Design paint is a paintwhich requires firing. We fire our product in the oven, as written in the instructions - for 30 minutes at a temperature of 160 degrees. After this time, we let the product cool.
Step 5
Maple leaves (they are also empty spaces on the surface of the candlestick) are outlined with a gold color. The veins on the leaves will be applied at the very end.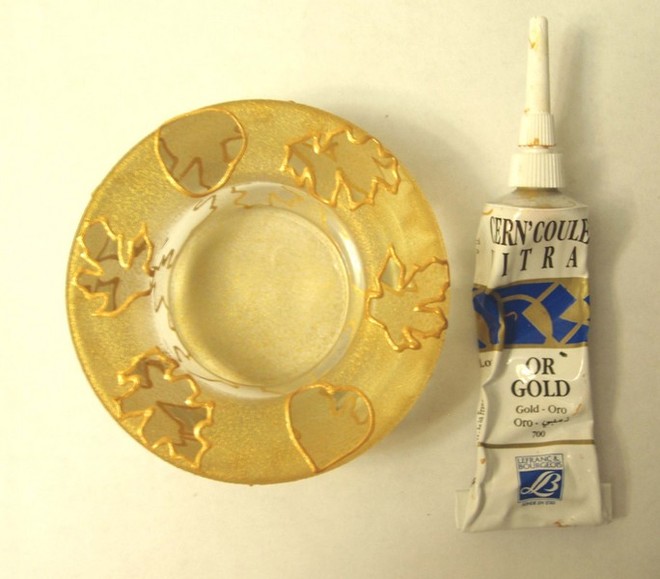
 Contouring Tips
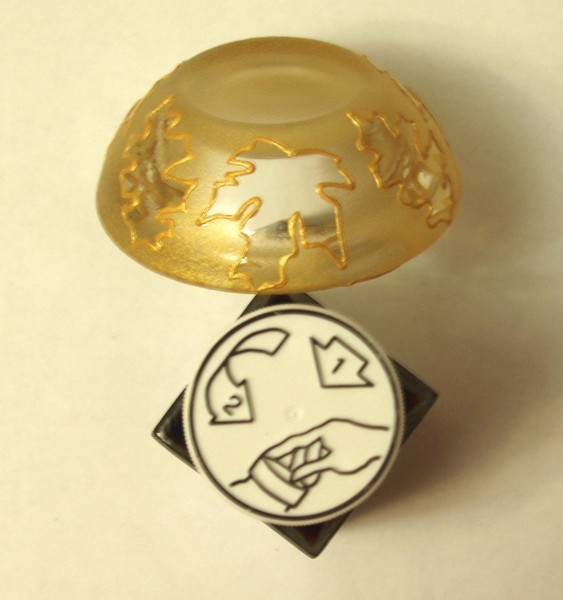
- Using a toothpick, immediately remove excess contour;
- After the contour has dried, cut the excess with a paper or razor knife.
Step 6
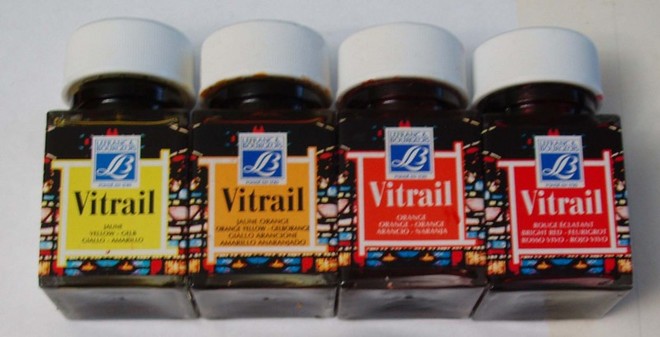
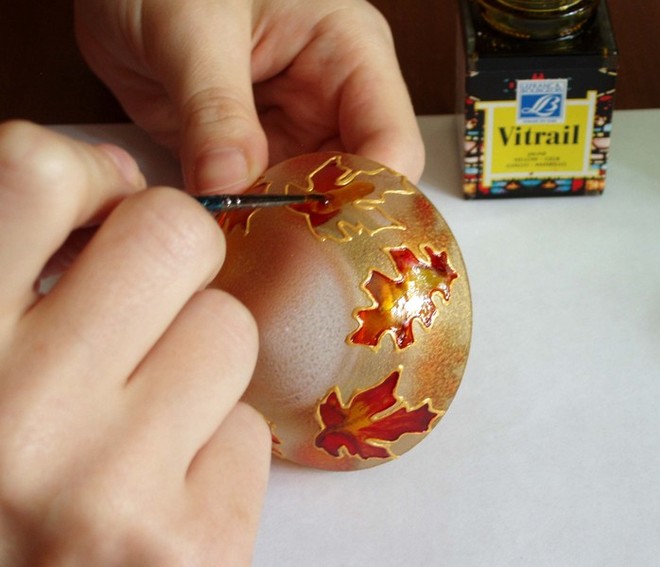 Fill the resulting contours with red-yellow paint.ranges. You can use only one color, but it will be more effective to mix several colors. First, apply a lighter shade to the center of the sheet, and then apply a dark tone along the edge. And thus we get a smooth transition of color from dark to lighter. Tips for filling the product with paint
- When filling the contour, it is necessary to apply the necessaryamount of paint in the desired area, and then, as it were, disperse this drop with a brush over the entire area. At the same time, try not to touch the outline itself with the brush, but ensure that the paint itself flows into the area close to the outline.
- To avoid leaving "white spots" (gaps between the paint and the outline), you must work in good lighting.
- Also, if you started to paint somethingthe area outlined by the contour, you must not stop and finish filling it. Otherwise, the paint will have time to set, and the next portion of paint will form a defect in the form of an unnecessary line.
- If some paint does get on the outline, you can fix it by wiping off the excess with a cotton swab or a toothpick with cotton wool.
- Prepare a cloth for brushing the brush beforehand, and wipe the brush about it after rinsing, and also remove excess paint from the brush.
Step 7
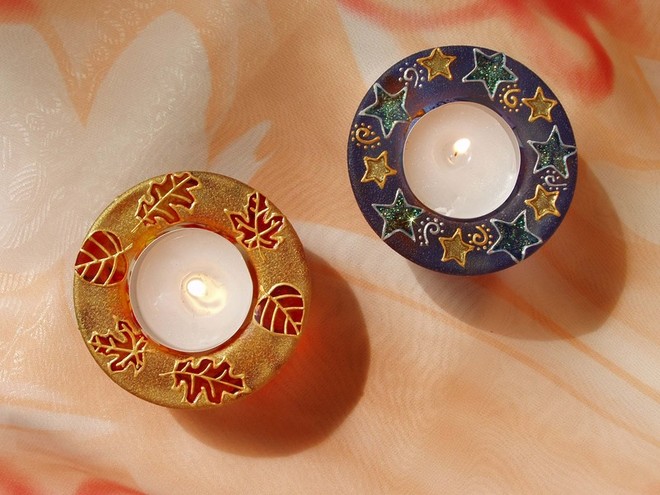
The final touch is drawing the veins on the leaves with a contour. Here is the result of the work done!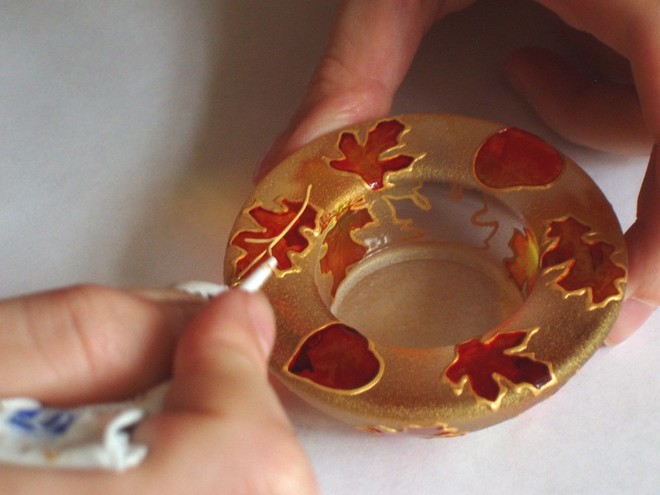
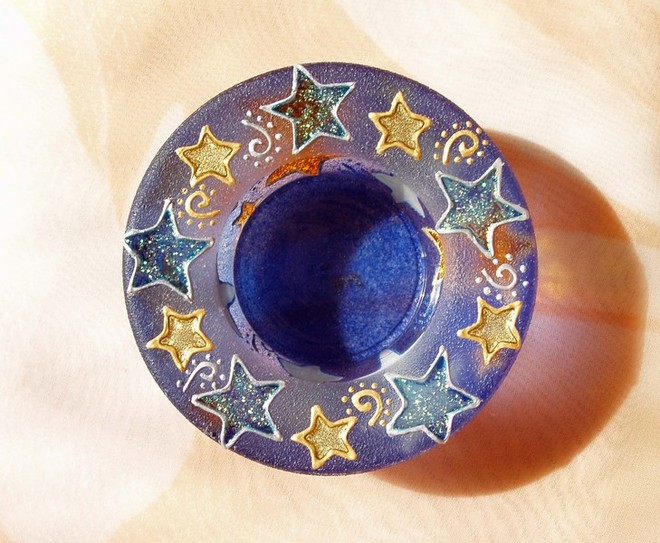
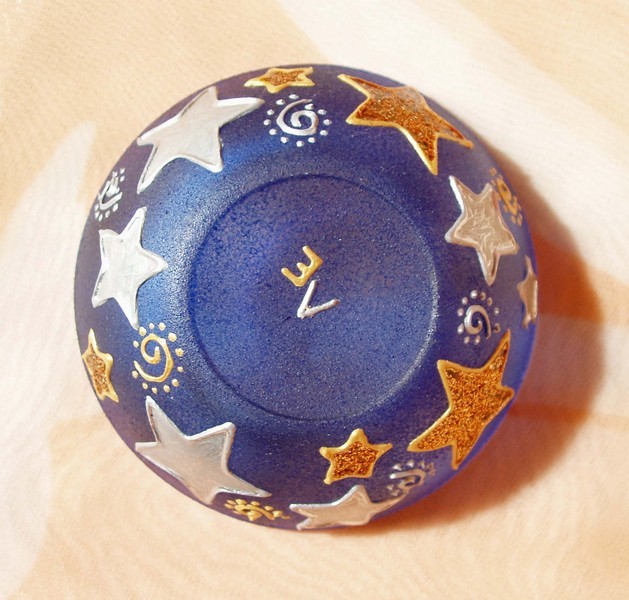
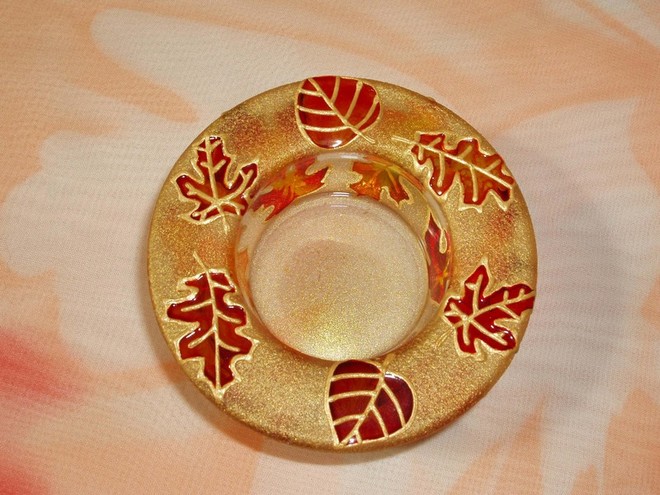 Here is another candlestick - Milkypath, which is made using the same technique. For its production, L&B paints and contours, FROST Design paint (Hobby Line), and glitters for the stars were used.