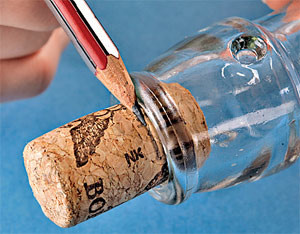
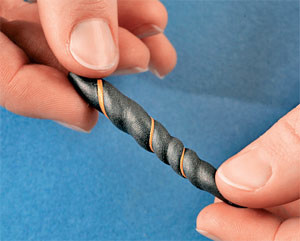
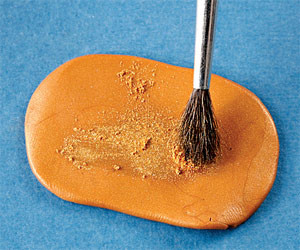
Design by Alexander Kosobokov. Photo: Dmitry Korolko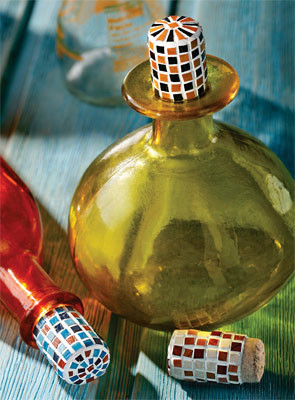 Mosaic decor Materials:Wine corkGold and black plastic for modeling Soft series Fimo (manufacturer - Eberhard Faber, Germany) Translucent plastic for modeling Soft translucent series Fimo (manufacturer - Eberhard Faber, Germany) Pigment "Aztec Gold" Pearl Ex in the form of powder (manufacturer - Jacquard Products, USA) Transparent varnish for coating plastic (manufacturer - Eberhard Faber, Germany) Gypsum grout Glue-gel "Moment" Scotch tape Tools: Roller or rolling pin, brush, parchment for baking, oven, scalpel or special knife for cutting plastic, a piece of felt, a clean cotton cloth Description of work 1. Close the neck of the bottle with a cork. Mark the line where the cork is immersed with a pencil. Remove and tape the lower part, marking the limits of the decoration. 2. Soften a piece of black plastic, shape it into a sausage. Roll a thin thread from a small piece of gold plastic. Apply it to the black plastic and twist them together. Fold the sausage in half and repeat the twisting several times. Roll the plastic into a flat cake to a thickness of 2 mm. 3. Soften the gold plastic, add translucent plastic to it (3:1) and knead them until smooth. Roll it with a roller into a flat cake to a thickness of 2 mm. Cover it with gold powder on both sides using a brush.
 Wine cork decor
 4.Place the black and gold plastic side by side on the parchment. Roll them together until the two flat cakes are the same thickness. Transfer the parchment to the preheated oven for 25 minutes at 130 °C. Let the plastic cool. 5. Sand the surface of the black plastic with a piece of felt to make it smooth. Cut the hardened plastic into strips 3 mm wide. Cut each strip into squares. 6. Glue the black and gold mosaic pieces in a checkerboard pattern to the cork using gel glue, securing each square with a separate drop.
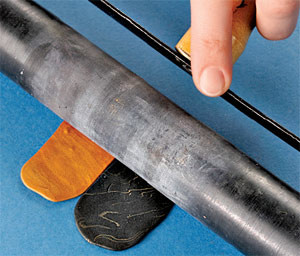
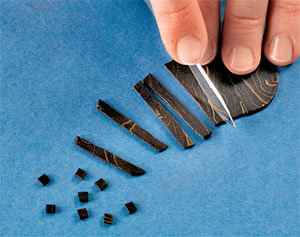
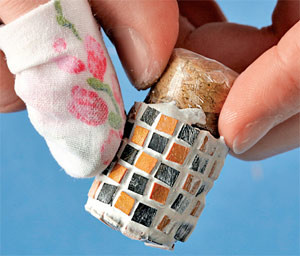
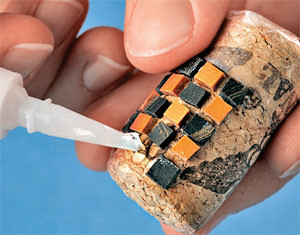 7.Mix the grout with water (2:1), gradually adding the liquid. Stir the mixture until it reaches the consistency of thick sour cream. Apply it over the mosaic, filling the voids. Leave it for 10-15 minutes to dry. Apply a second layer, dry. 8. Wet and wring out a clean cloth, wrap it around your finger and wipe the grout off the colored areas. Cover the squares with varnish. When it dries, remove the tape.
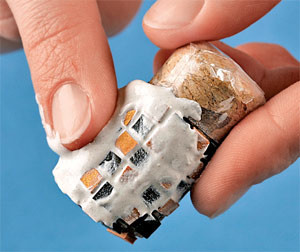
 Tip:
Tip:
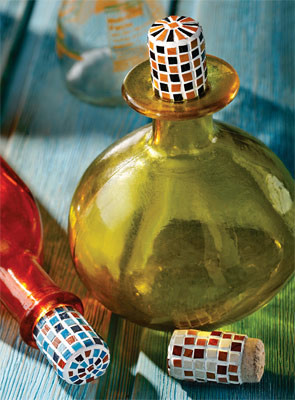
- Plastic is ideal for small mosaicsworks. After all, it would be very difficult to cut real glass or ceramics into such small and neat squares. In addition, working with plastic, the author can get any shade. For example, adding white plastic, you can create a mosaic in which the color will go from brown to beige and cream. By the way, the described mosaic technique can be used to decorate other small items: photo frames or boxes.
- If you want to imitate ceramicmosaic, then take the Soft plastic of the Fimo series for work. If the goal is a mosaic similar to glass, add translucent plastic Soft translucent to the main color. Or use plastic Cernit (Germany), since in this series almost any plastic, regardless of color, also has the property of slight translucency.
- One of the difficulties in the mosaic is thatimagine how the finished decorated item will look. Therefore, before work, it is recommended to look at catalogs dedicated to mosaics to choose color combinations or even a pattern.


